Well… as promised, here’s my first post about building the Radikal G20 HD. First off, it would be wrong of me to do this without giving some credit where credit is due. I’d like to thank The Orlando Radio Control Helicopter Society for holding their Annual Orlando Heli Blowout (OHB) last year, Century Helicopters for sponsoring the event, BH Hanson for providing prizes, my friend Stuart Angelo for taking me out to the OHB two years in a row, and to my awesome wife who supports me as I blow all our retirement money on this hobby.
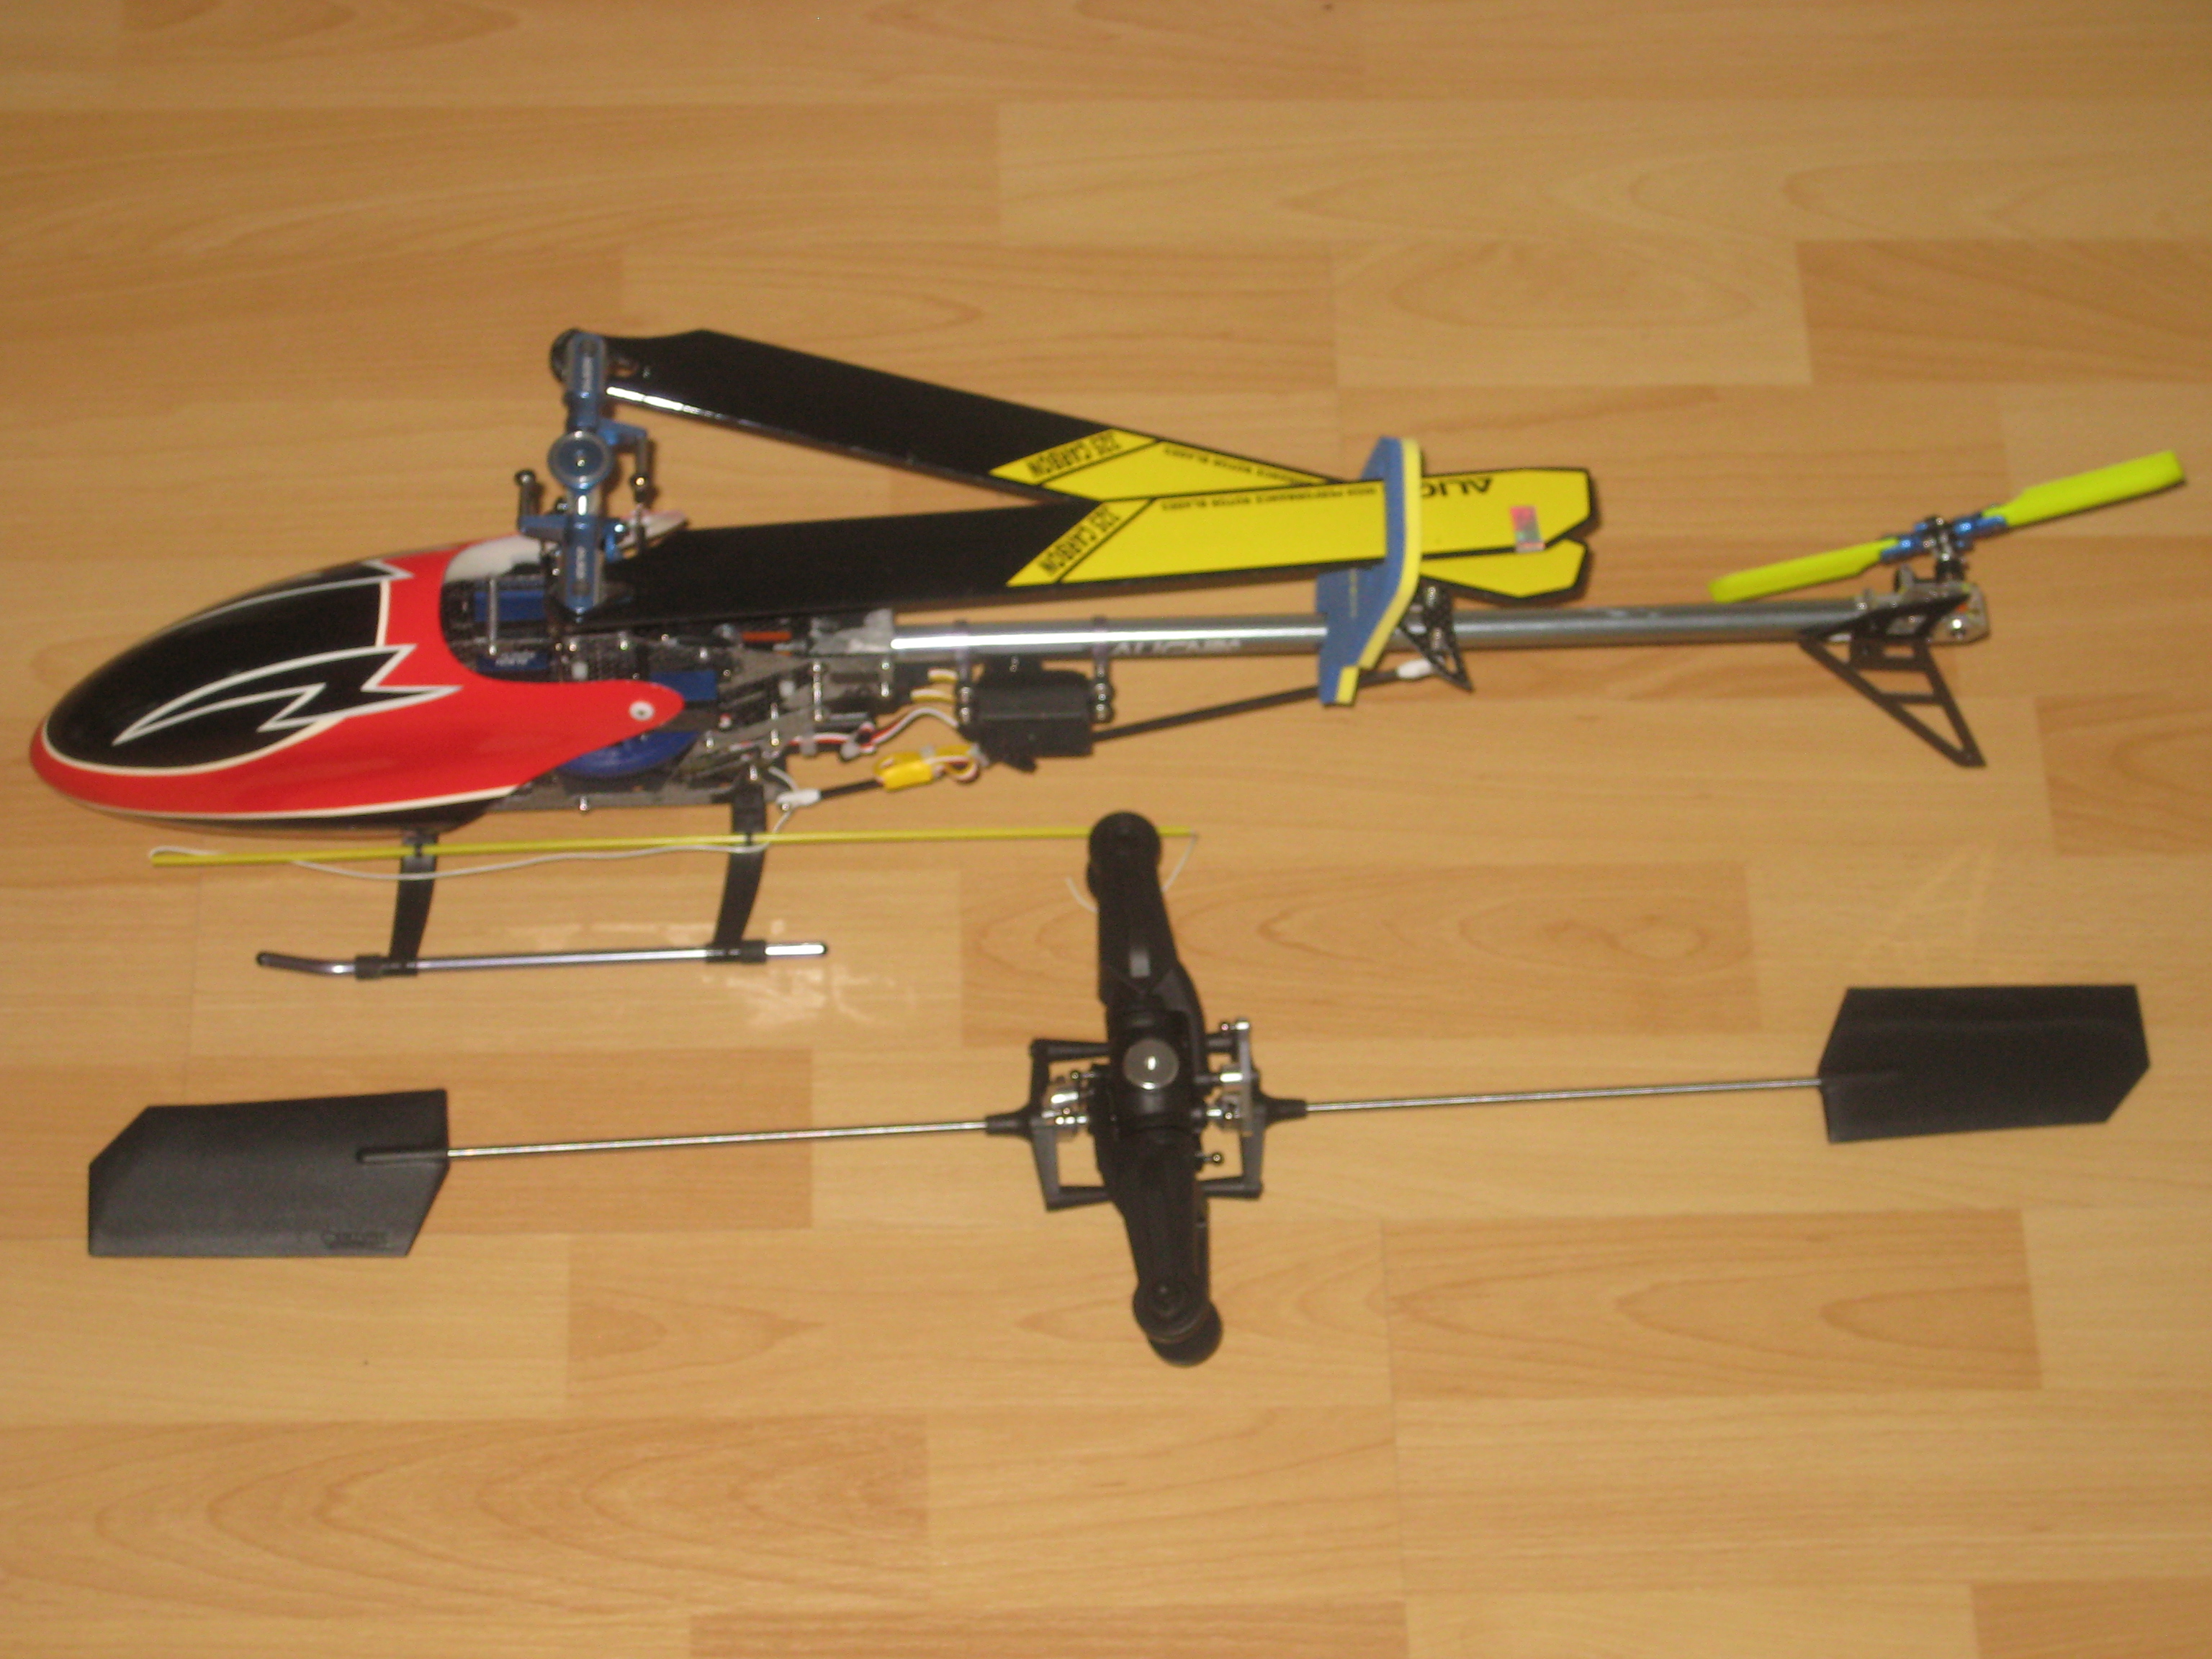
So as I mentioned in the thanks I was there with my friend, Stuart, and at the last minute decided to buy some raffle tickets. I found the raffle box with fewest tickets and dropped mine in there. About 30 minutes later I was shocked to find out that I had won… and then it hit me, I am now the owner of a gigantic model helicopter! I had no idea what I was going to do with this thing since I’m used to flying 450-size models (don’t worry if you don’t have any basis for comparison, I’ll be showing that in the pictures later on). So let’s start off with the box:
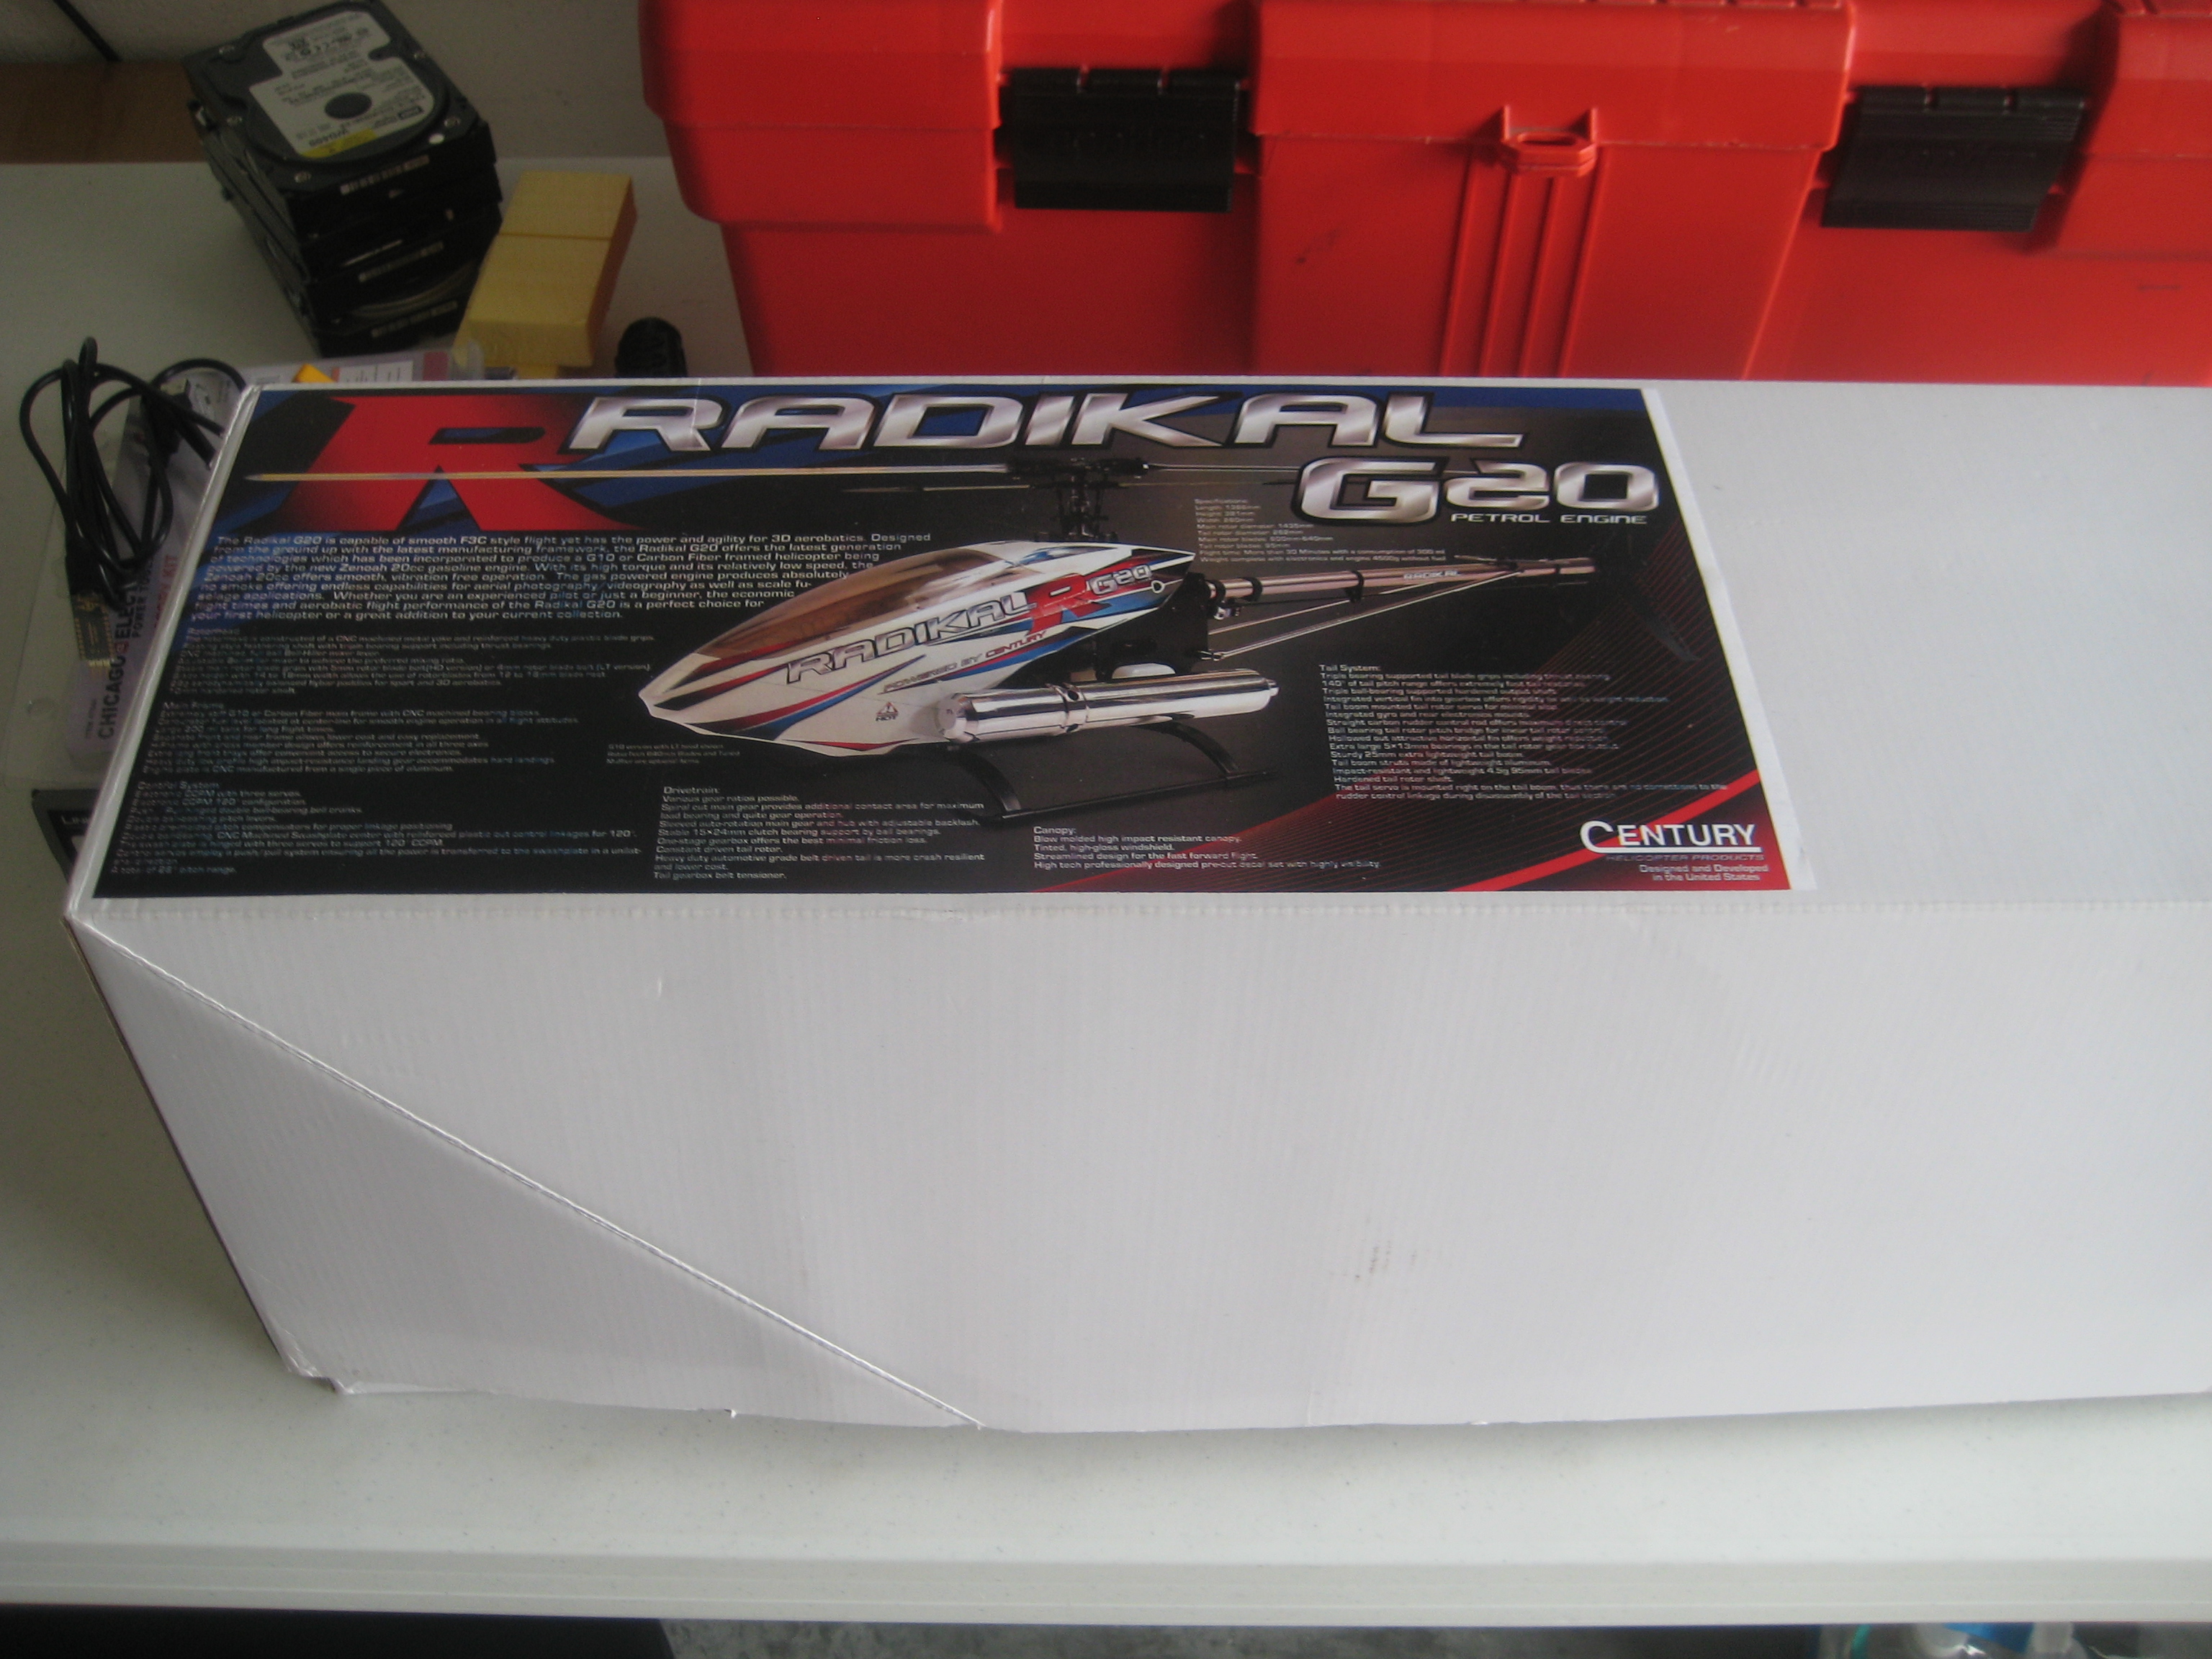
If the box is any indication of what’s inside… just take a look at the size of this!
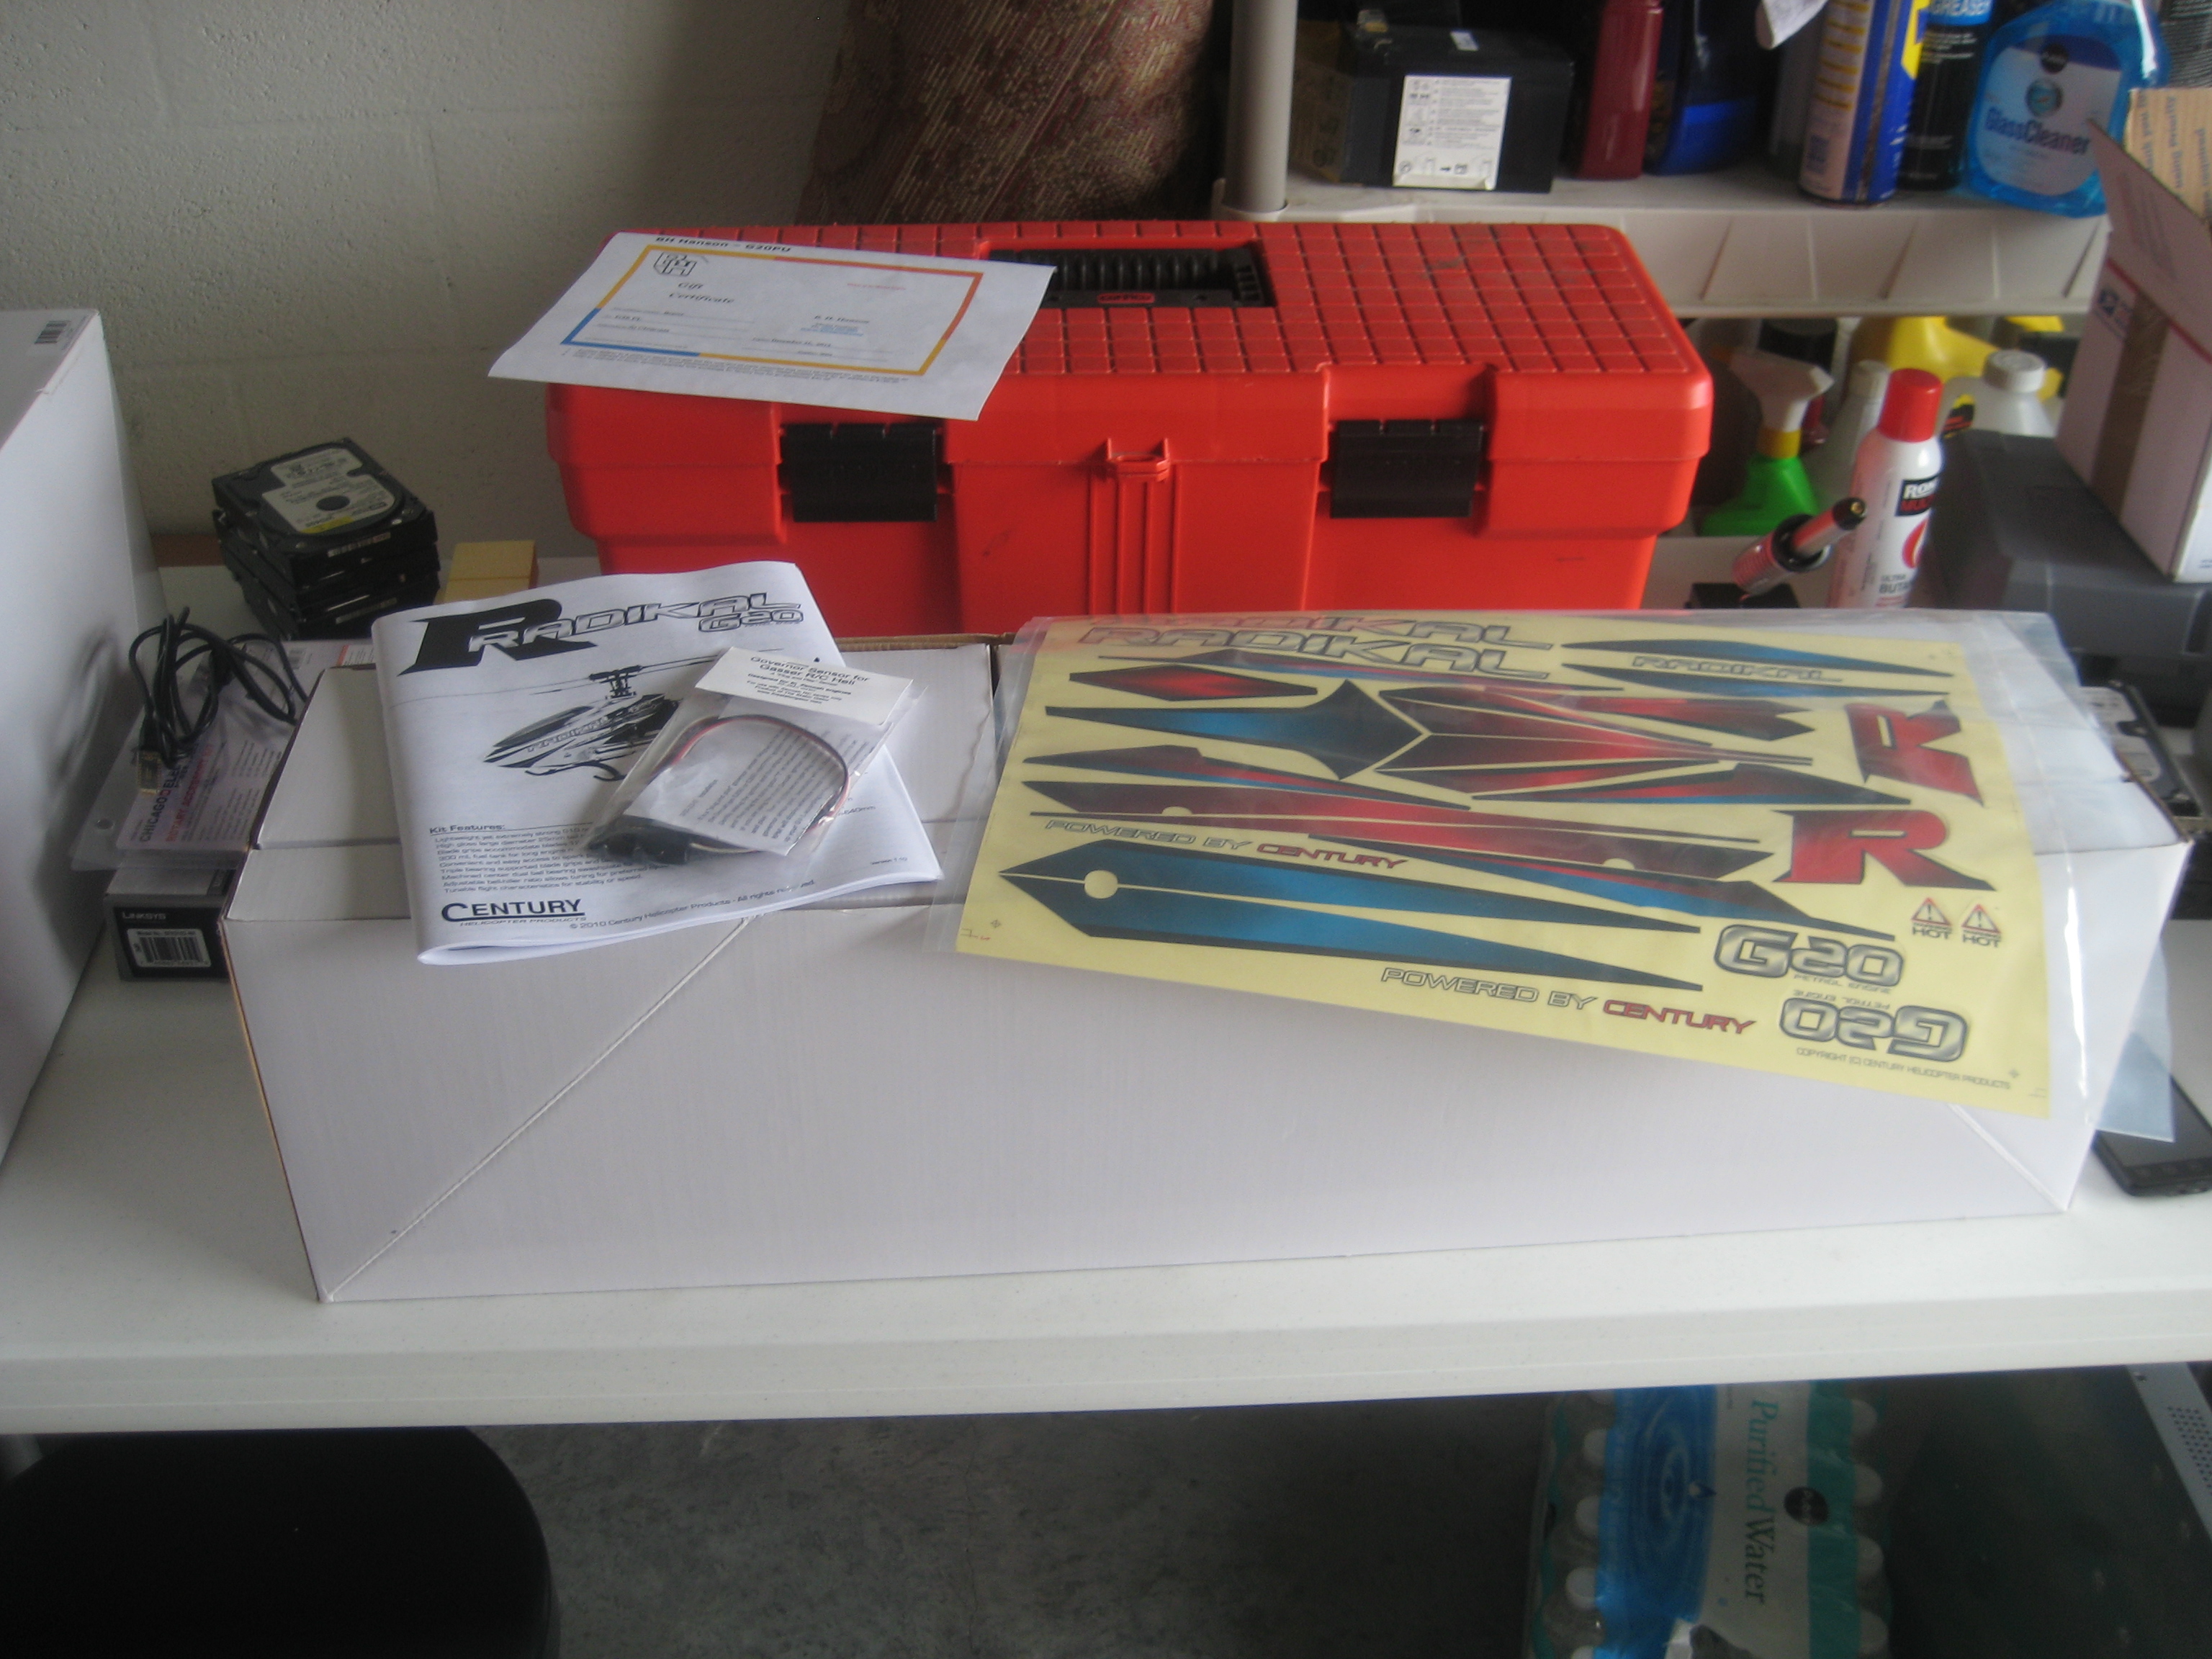
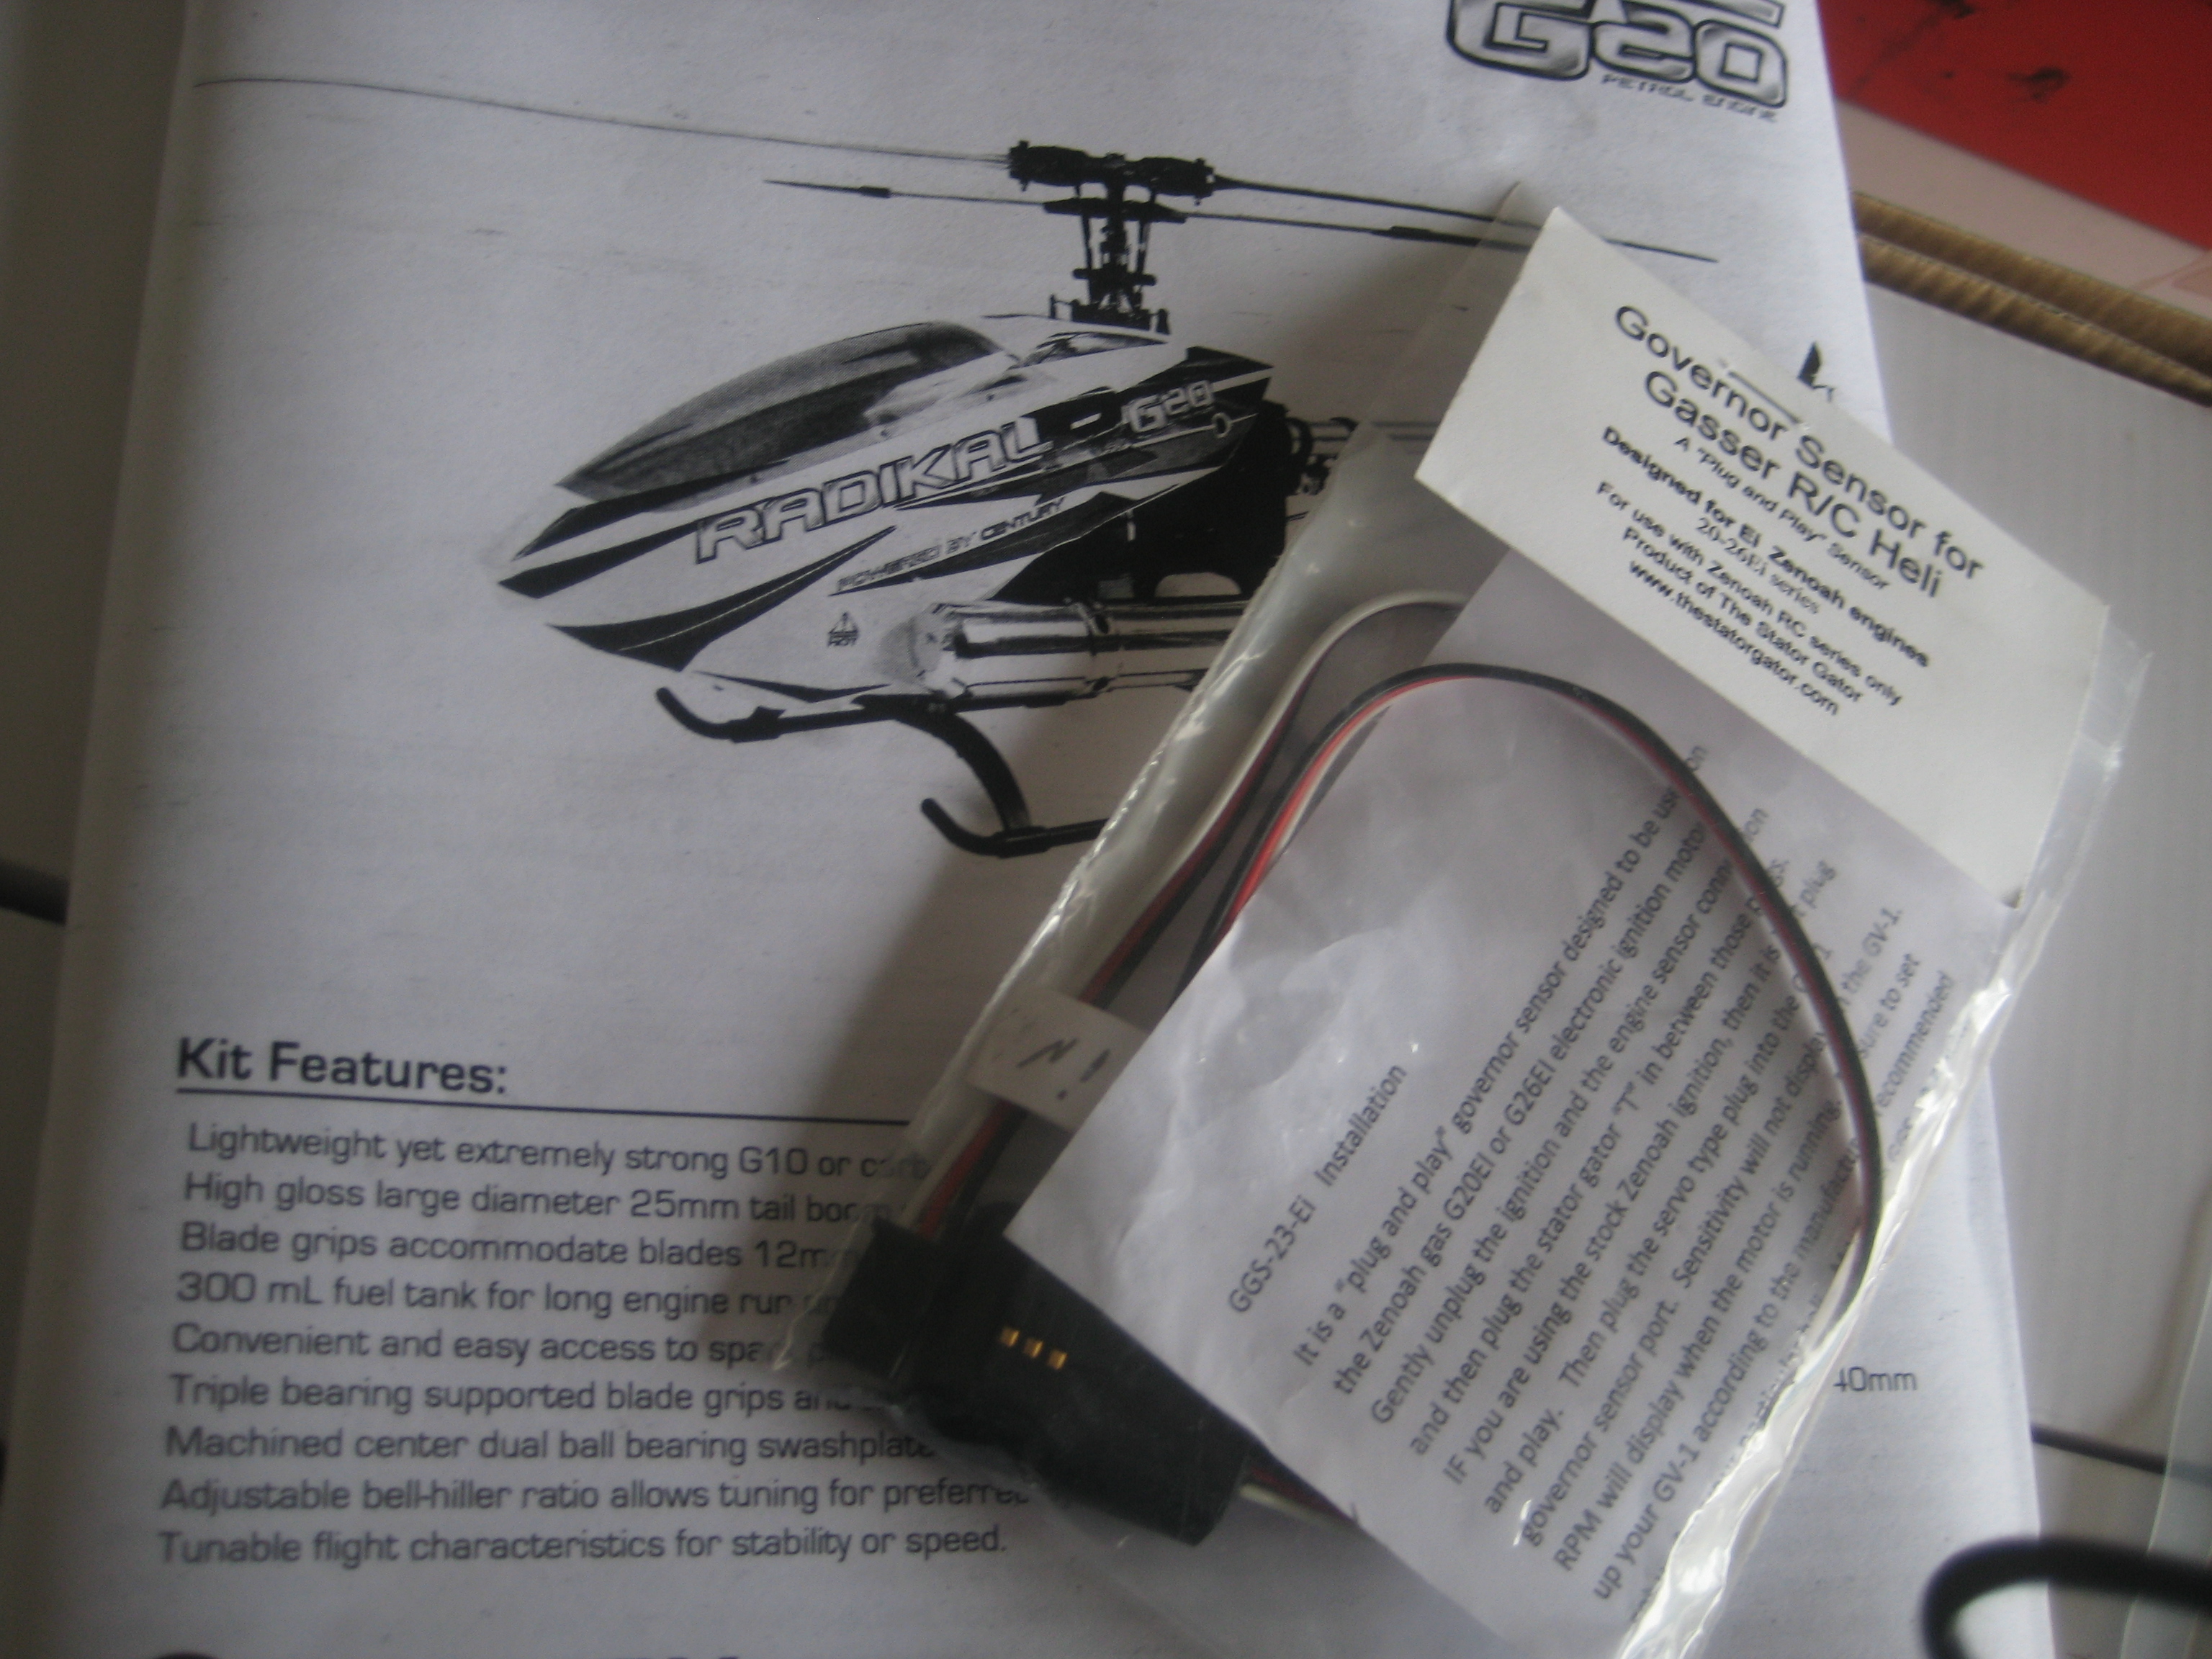
Century Helicopters and BH Hanson were kind enough to also include a Stator Gator governor sensor for the engine. I have no pictures of the engine yet but I’ll post some when I get to that build stage.
I began by unboxing the first set of bags and carefully reading through the directions. My normal modus operandi when building R/C aircraft is “Get it done as quickly as possible so I can go fly”. That works well for me when I’ve built a few 450’s in the past but this was new territory. Also, if a 450-size helicopter throws a blade or something bad happens, all that would happen is “Ouch”. If this thing has a catastrophic failure, someone’s losing a limb so I’d better take my time and follow every direction carefully.
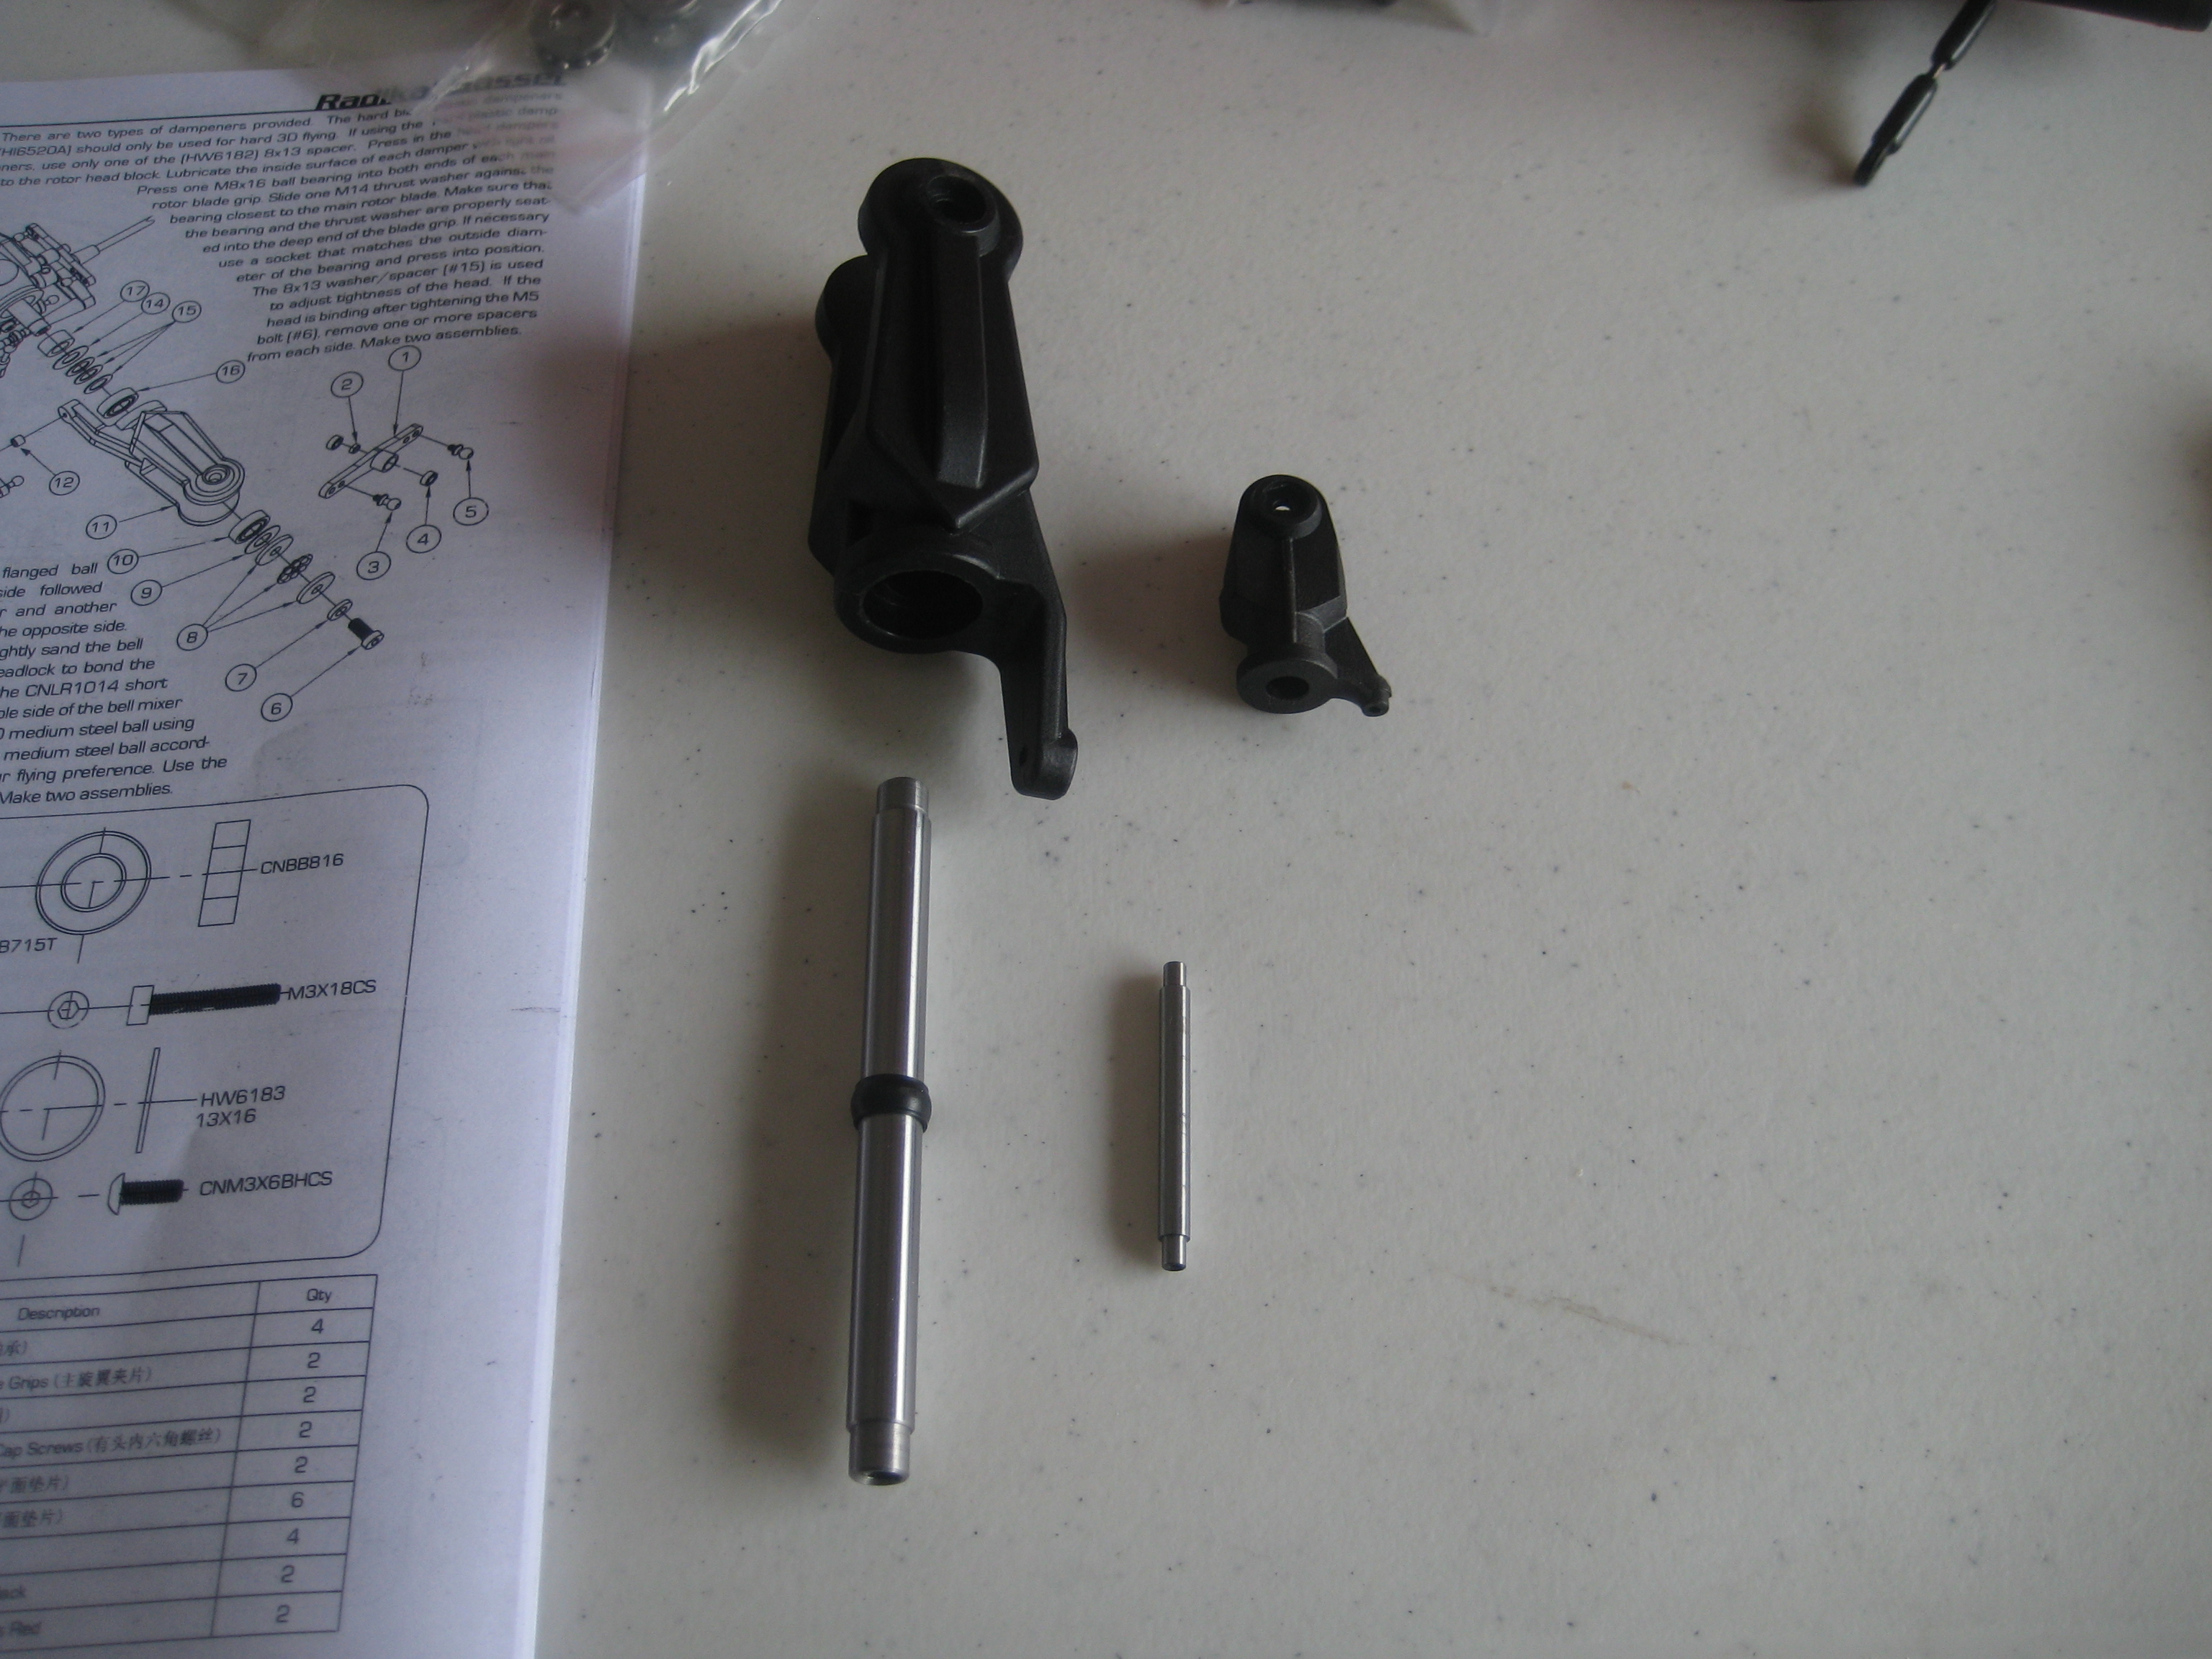
The first section to build was the rotor head. As a matter of comparison, I snapped a picture of the rotor heads from the Radikal and one of my 450’s. This was my first indication that I was building something ginormous! As I was putting the initial parts of the rotor head together (if you’re following along, I’m on Page 5 in the manual), there are some spacers for the seesaw tie bar set that go between the top of the rotor head “T” and the seesaw assembly. Getting those spacers in there requires anti-gravity. <sarcasm>I happened to have some so I had no trouble but for those of you that don’t have access to anti-gravity, just take your time and might I suggest that you secure the plastic tie bar pieces to the rotor head prior to fully assembling them. This may ease off on the anti-gravity requirement.</sarcasm>
The paddle size was also something to come to terms with… the more I kept building this thing, the more respect I gained for it! This picture has the 450 paddle on the bottom (but I’m sure you already guessed that).
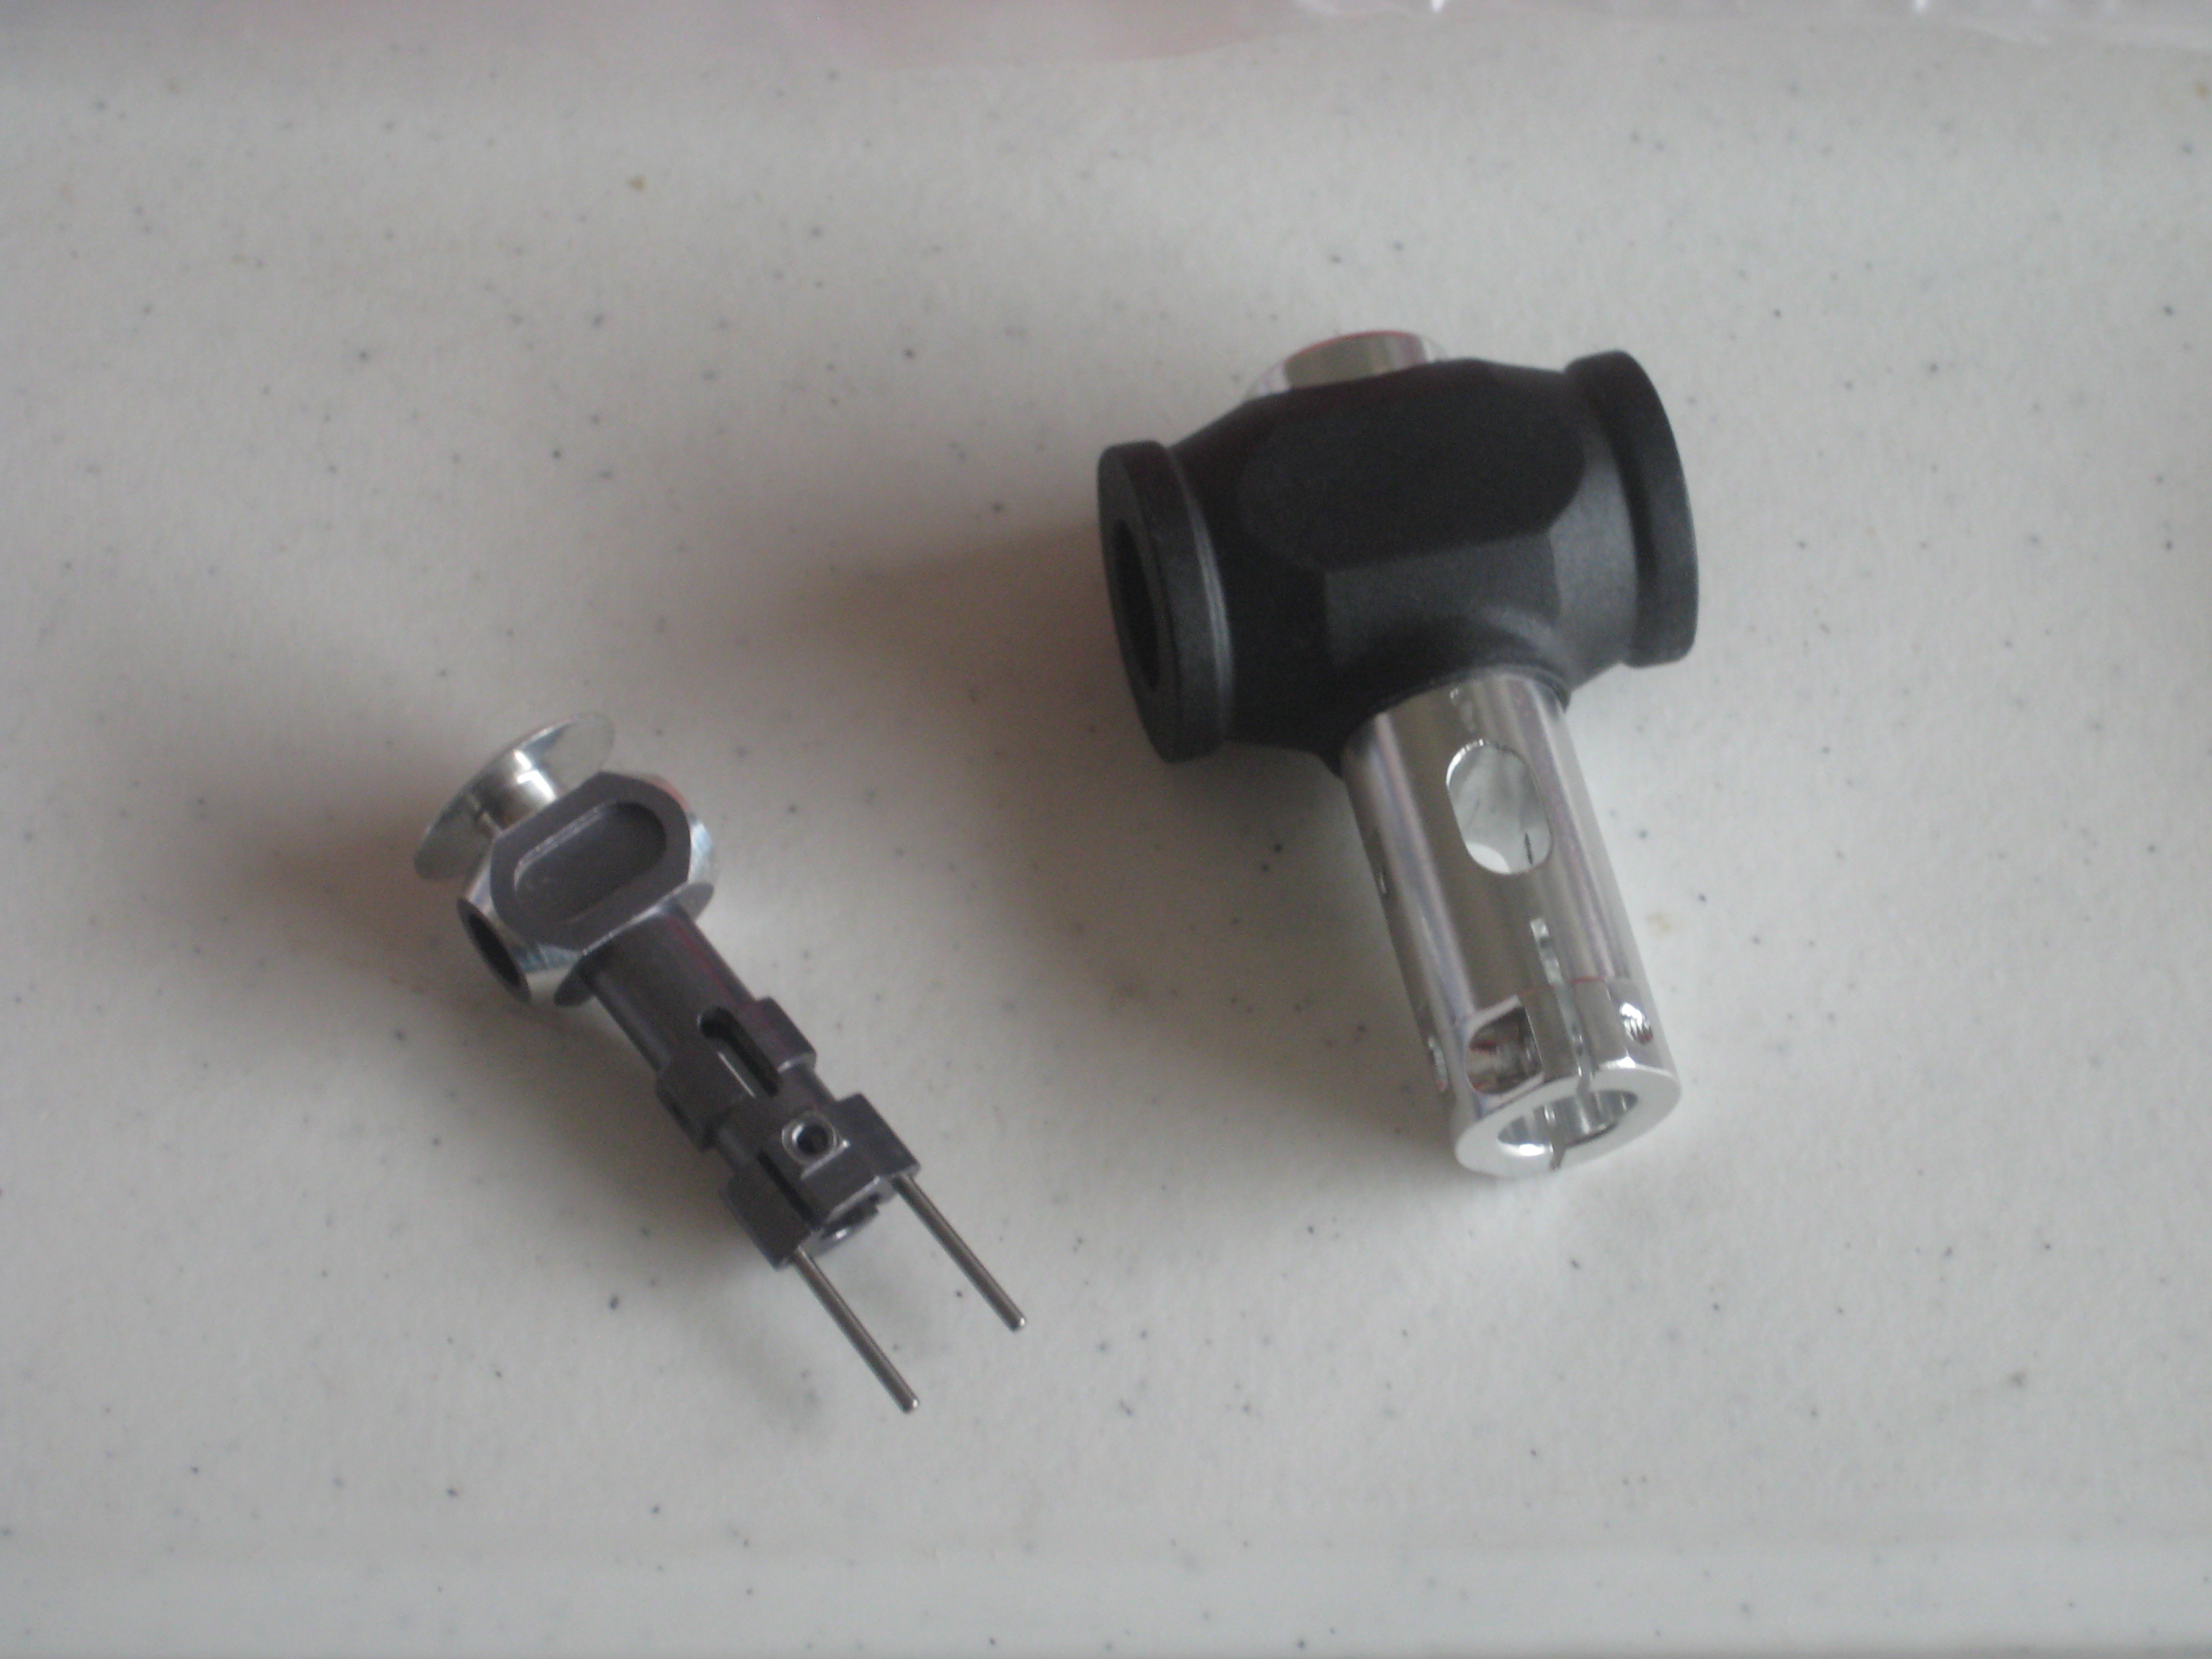
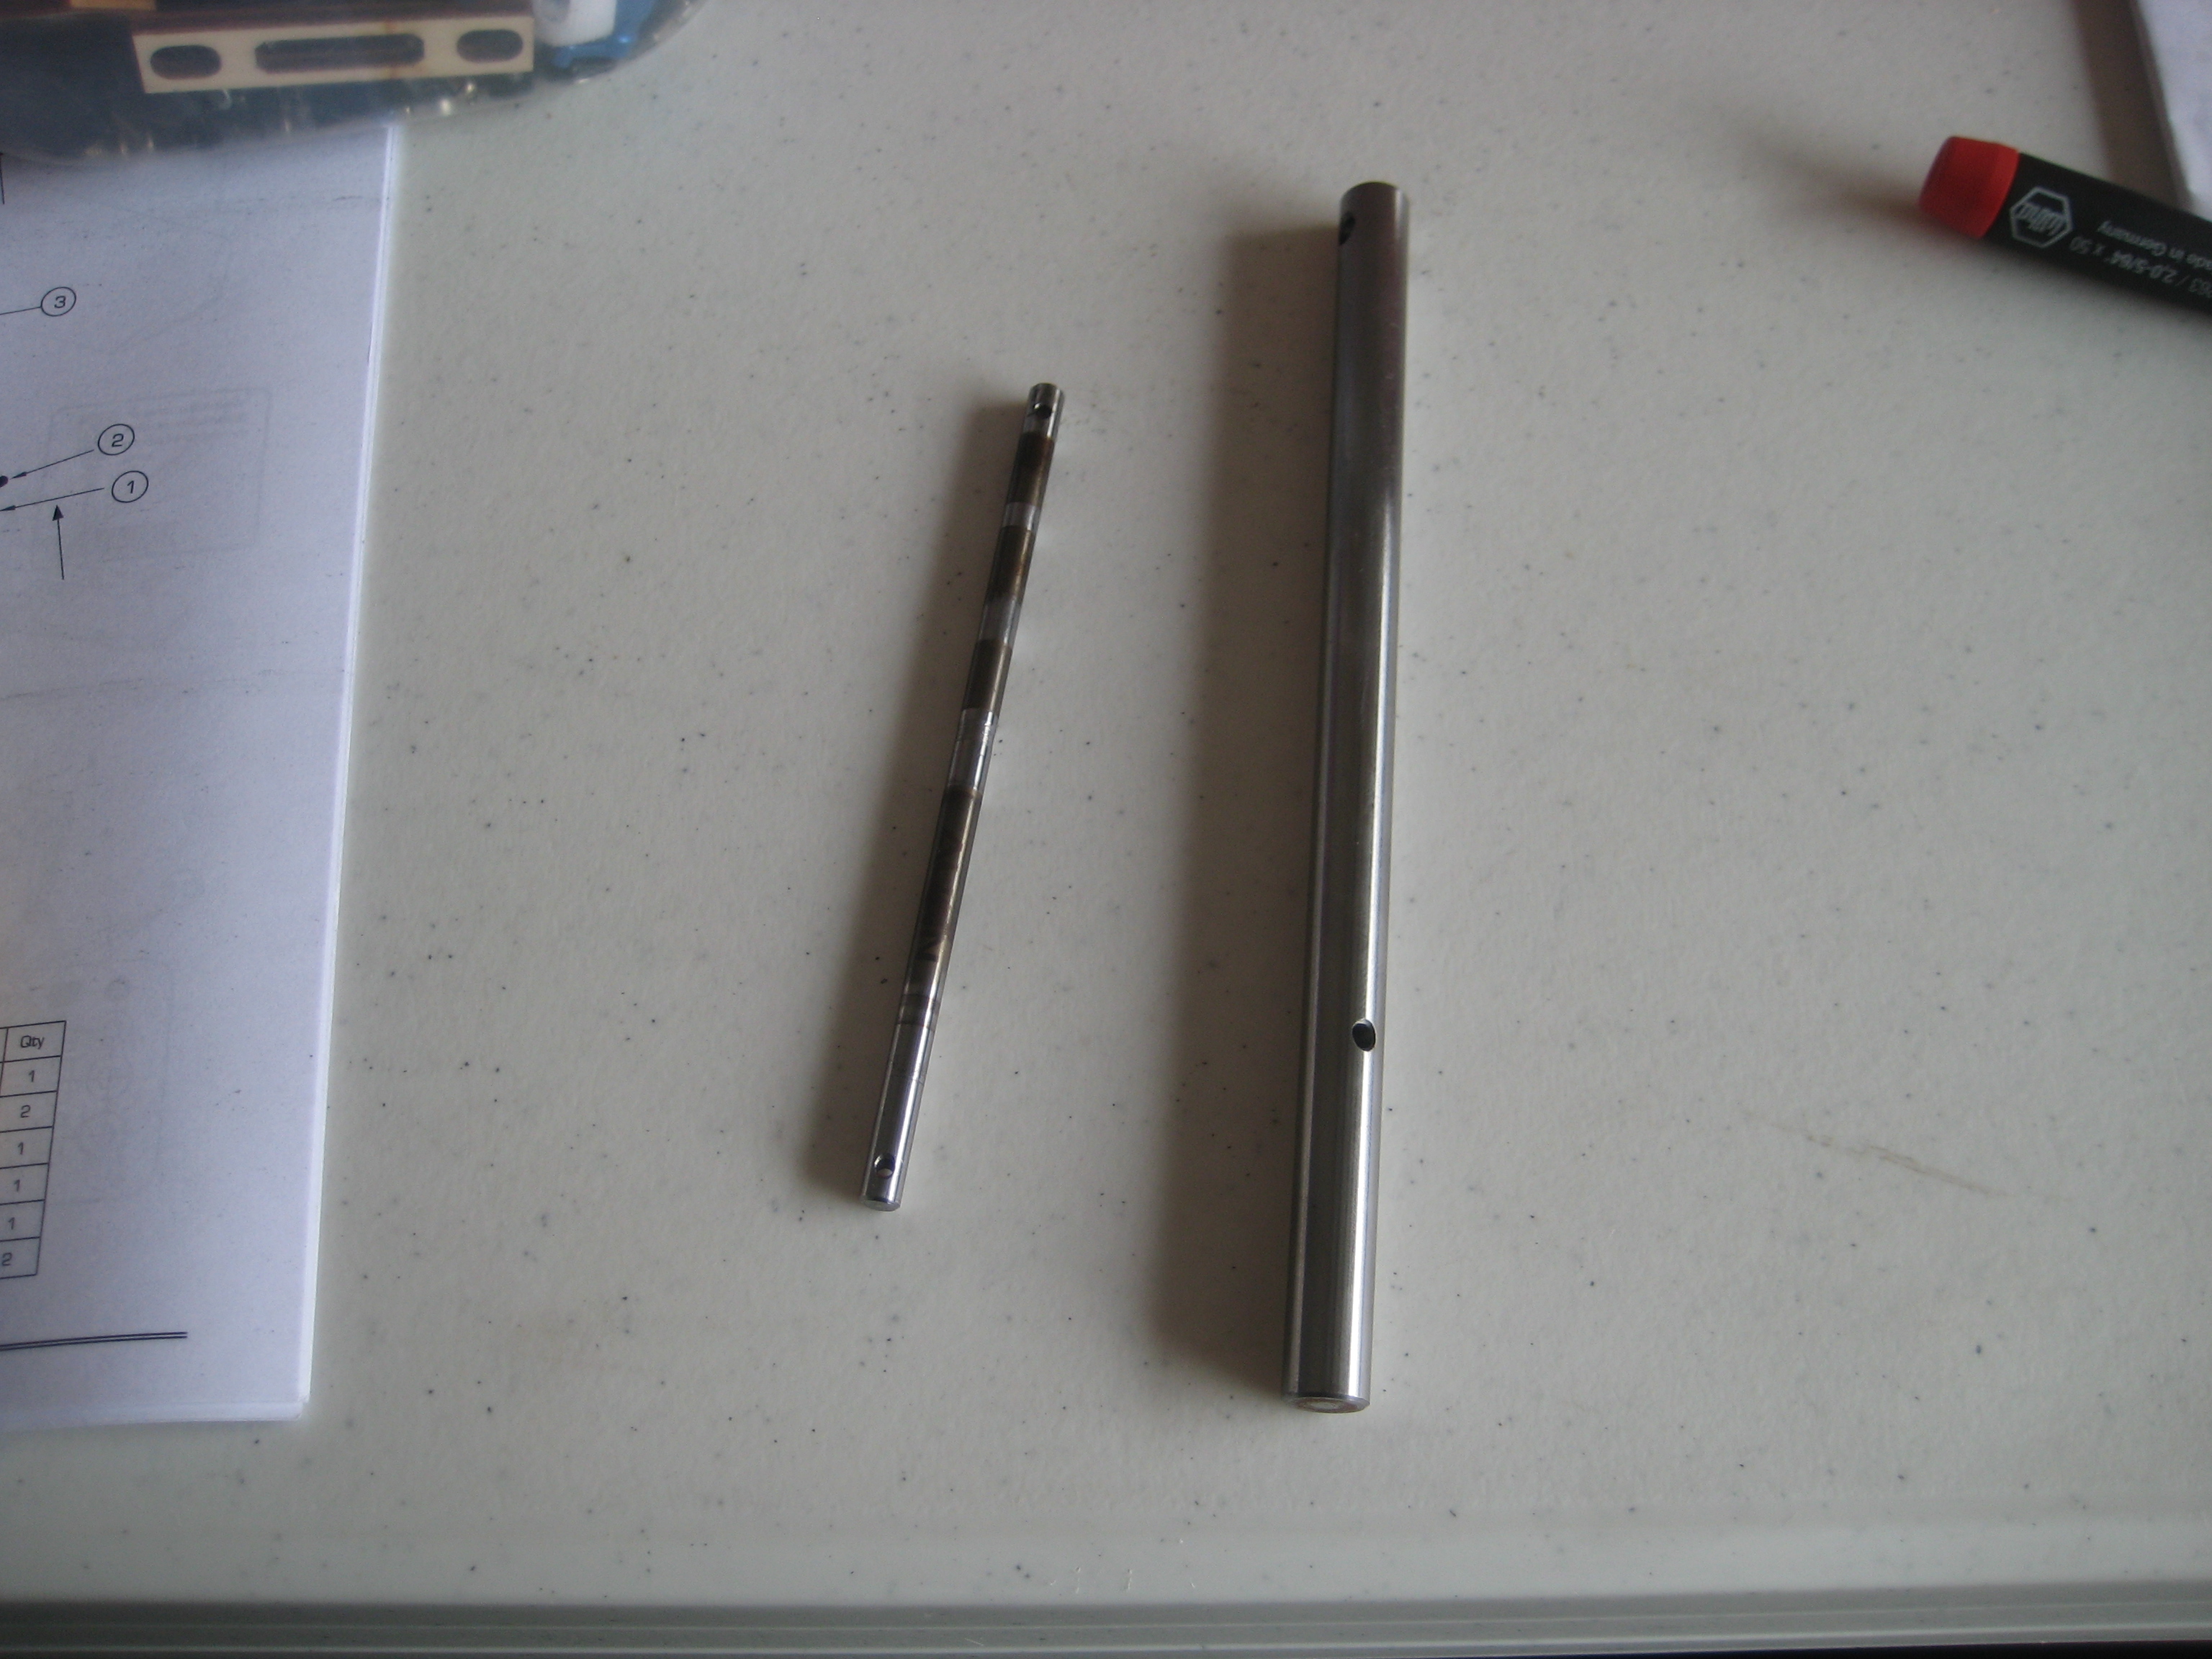
As everything kept coming together, I finally got to unbox the blade grips and feathering shaft. Here’s another comparison shot. The Radikal’s blad grip and feathering shaft vs. the 450 blade grip. I should have taken a picture of the 450 main shaft next to the Radikal’s feathering shaft, I think the feathering shaft was bigger in diameter!
As I was assembling one of the blade grips, my wife brought me an assistant to help out with things. He came clothed in his helicopter shirt, too!
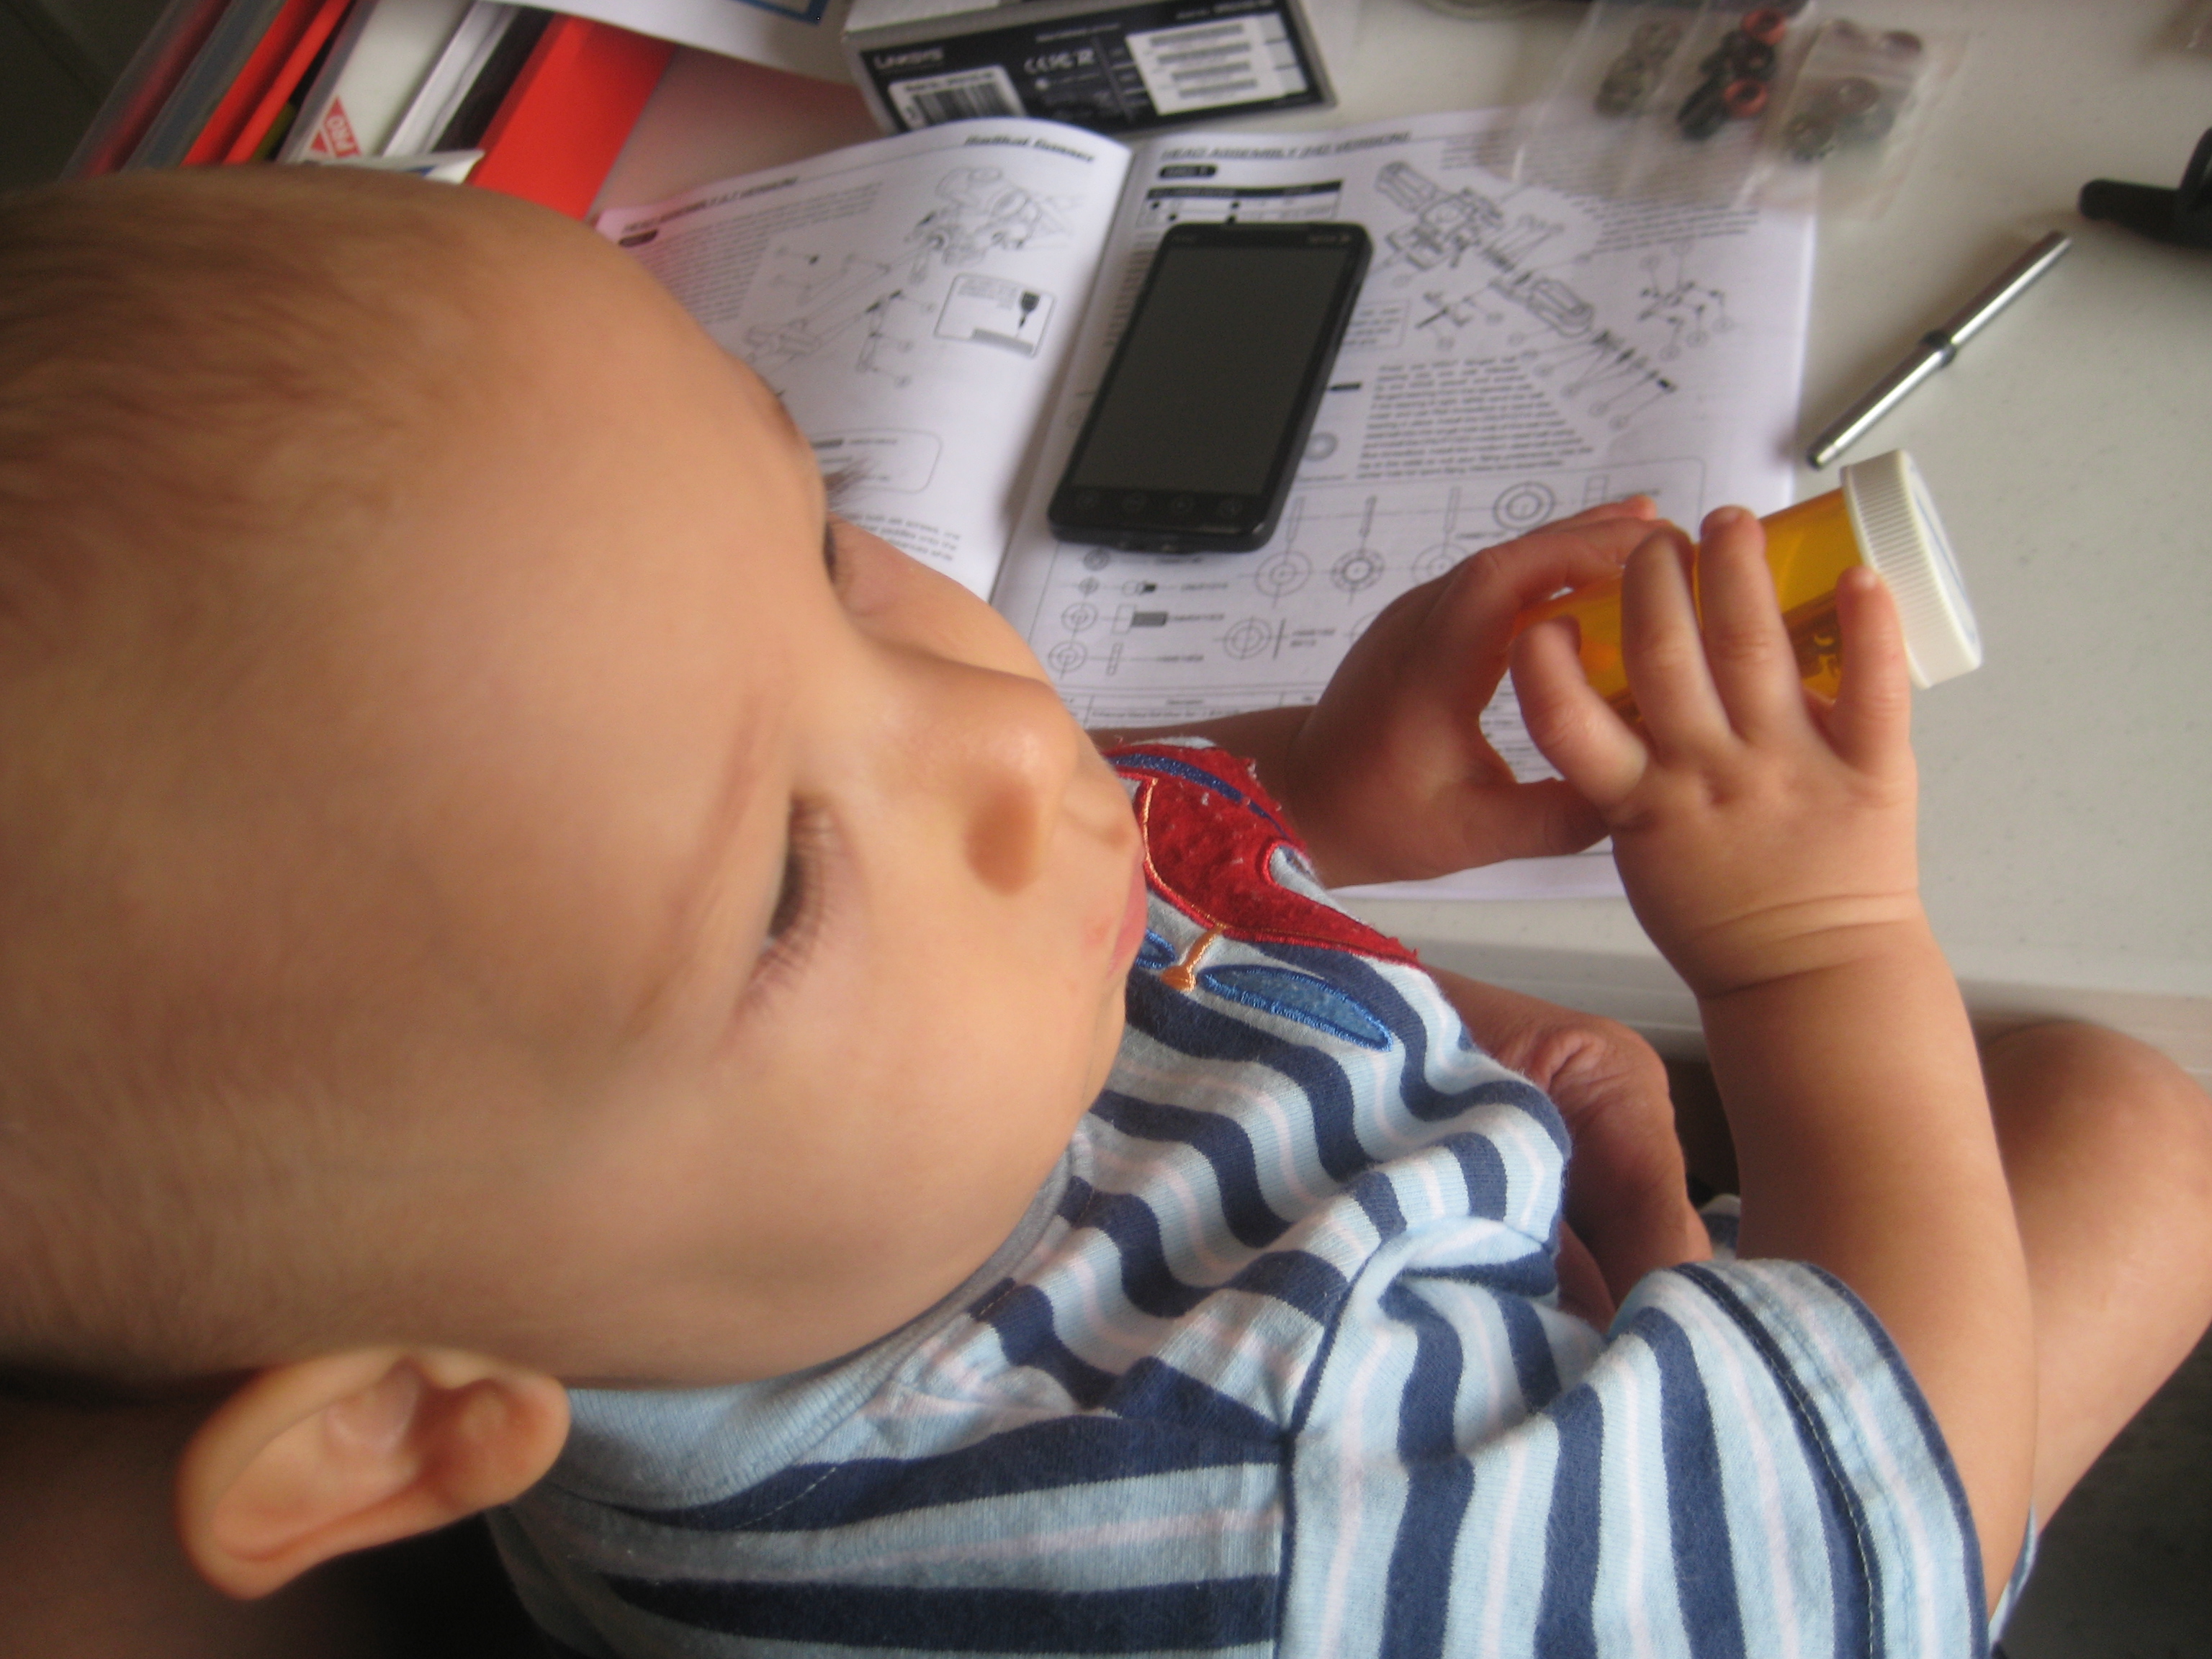
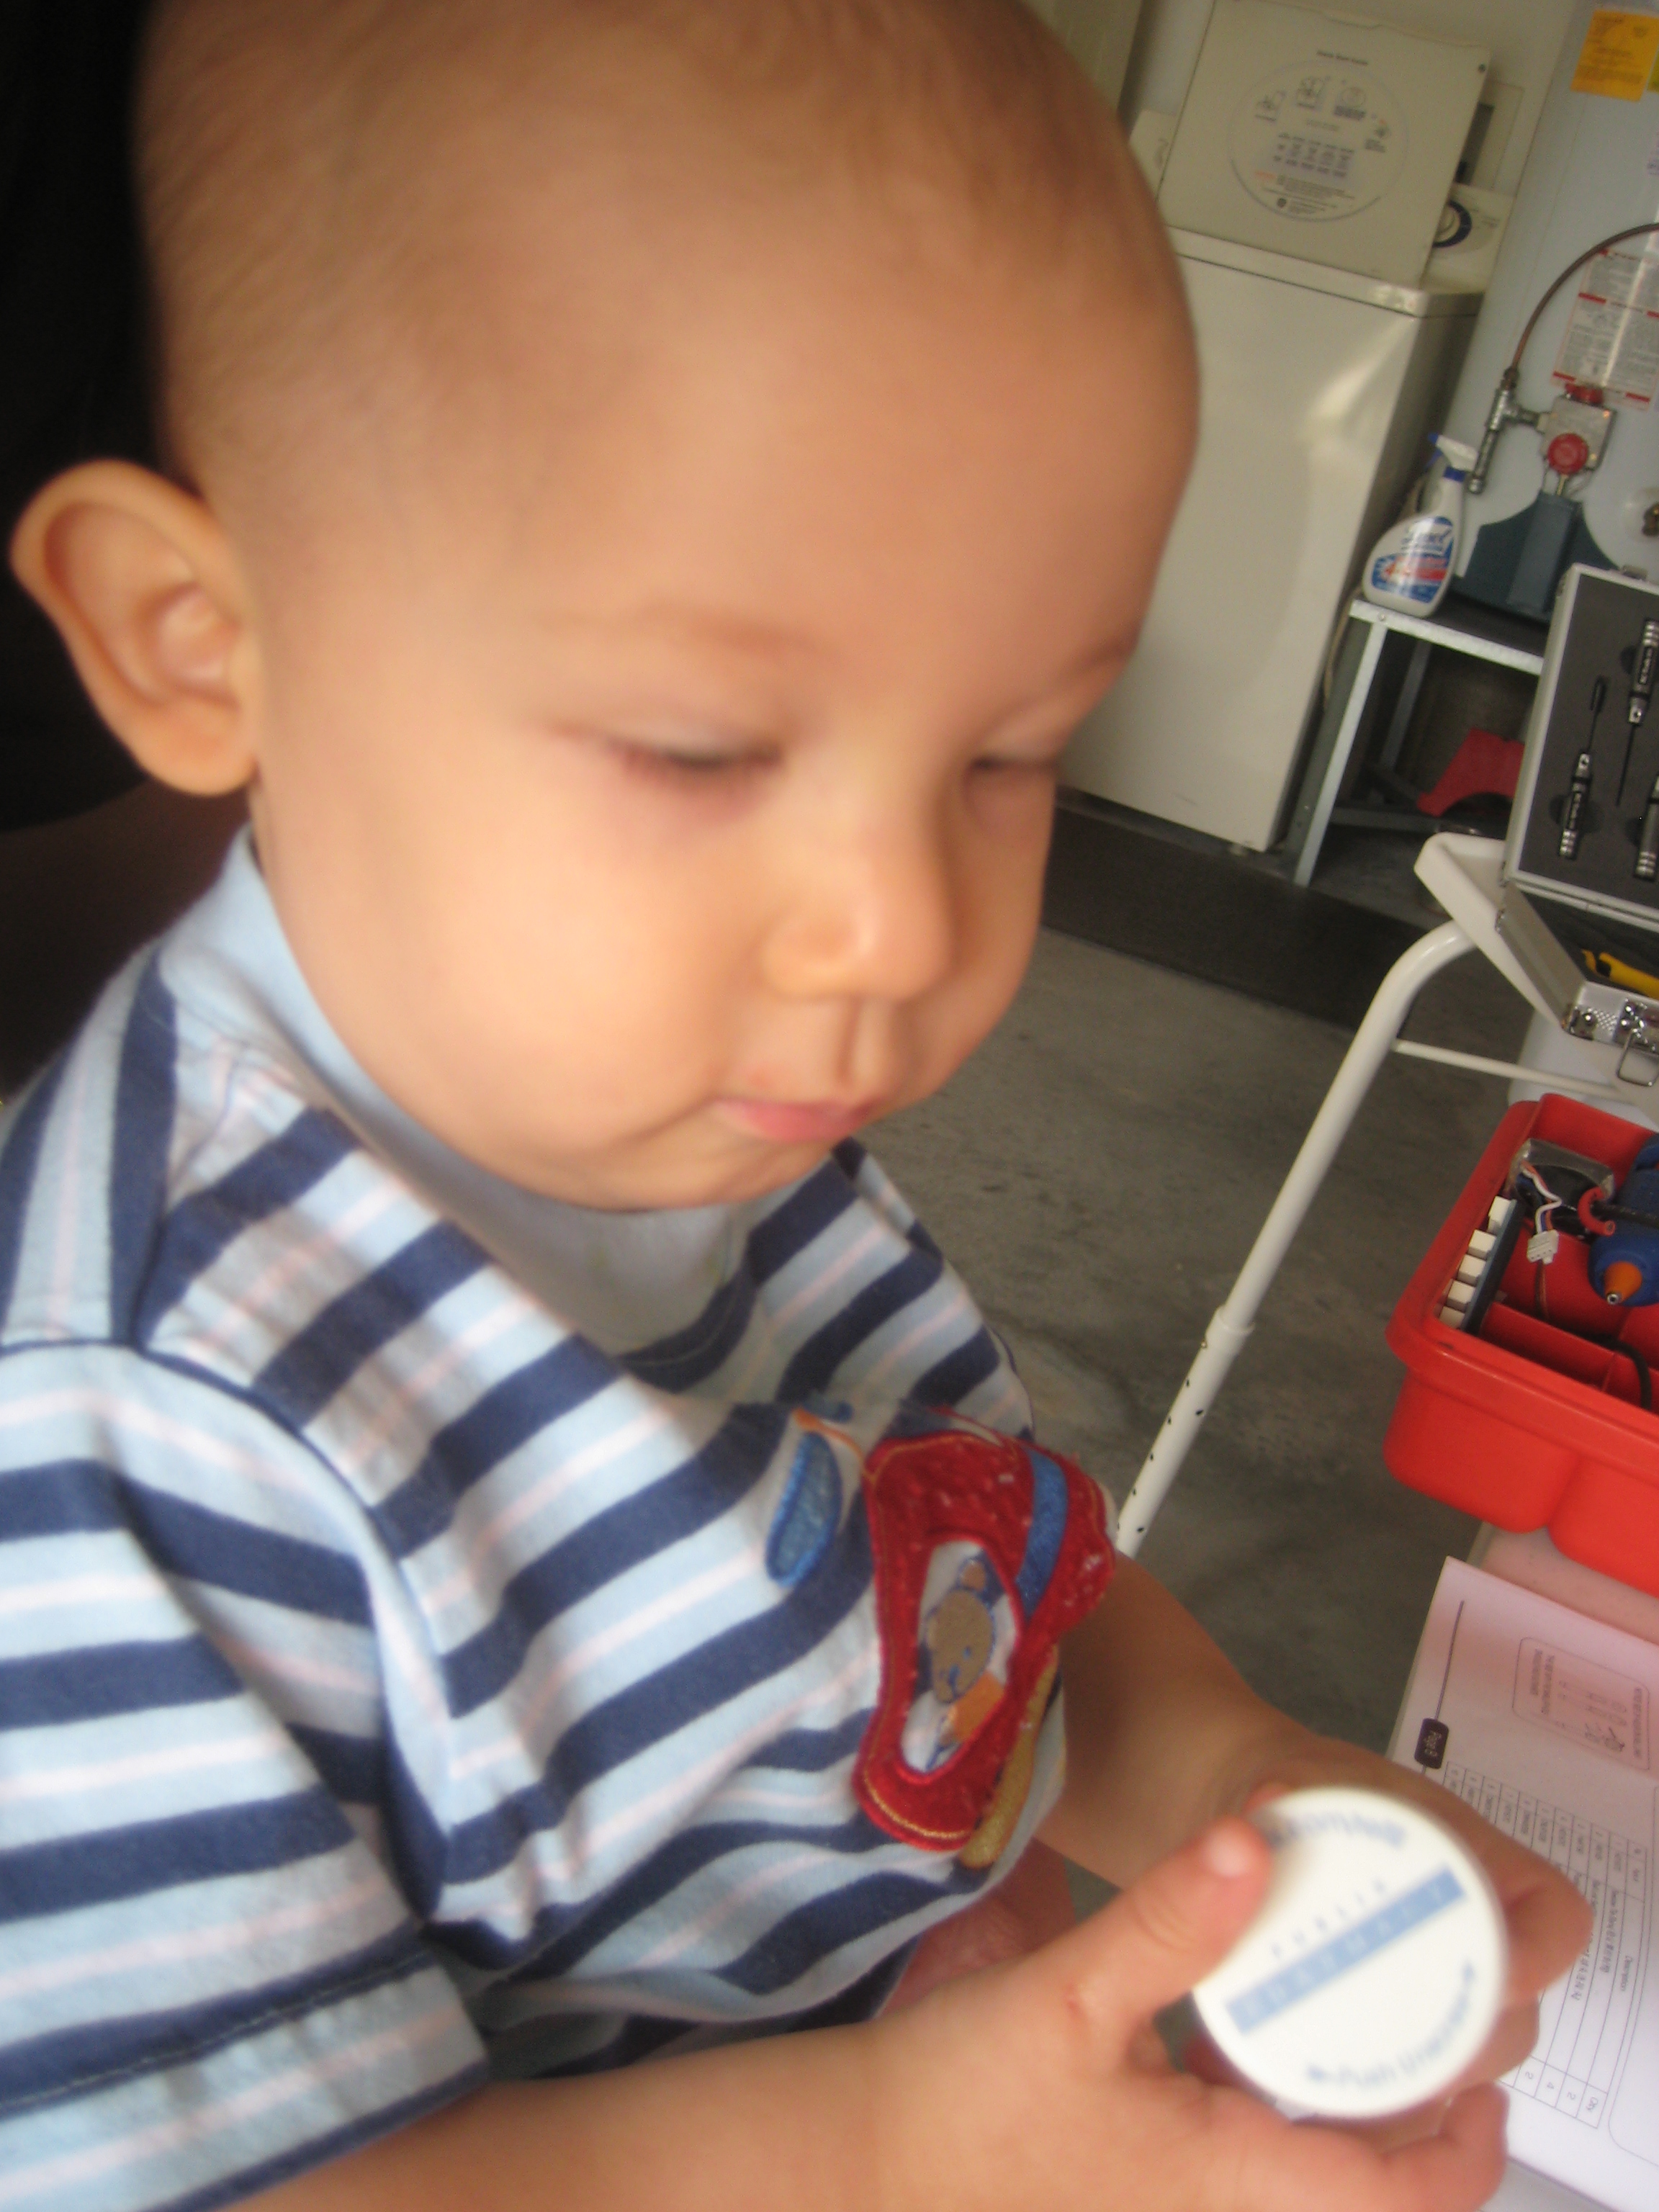
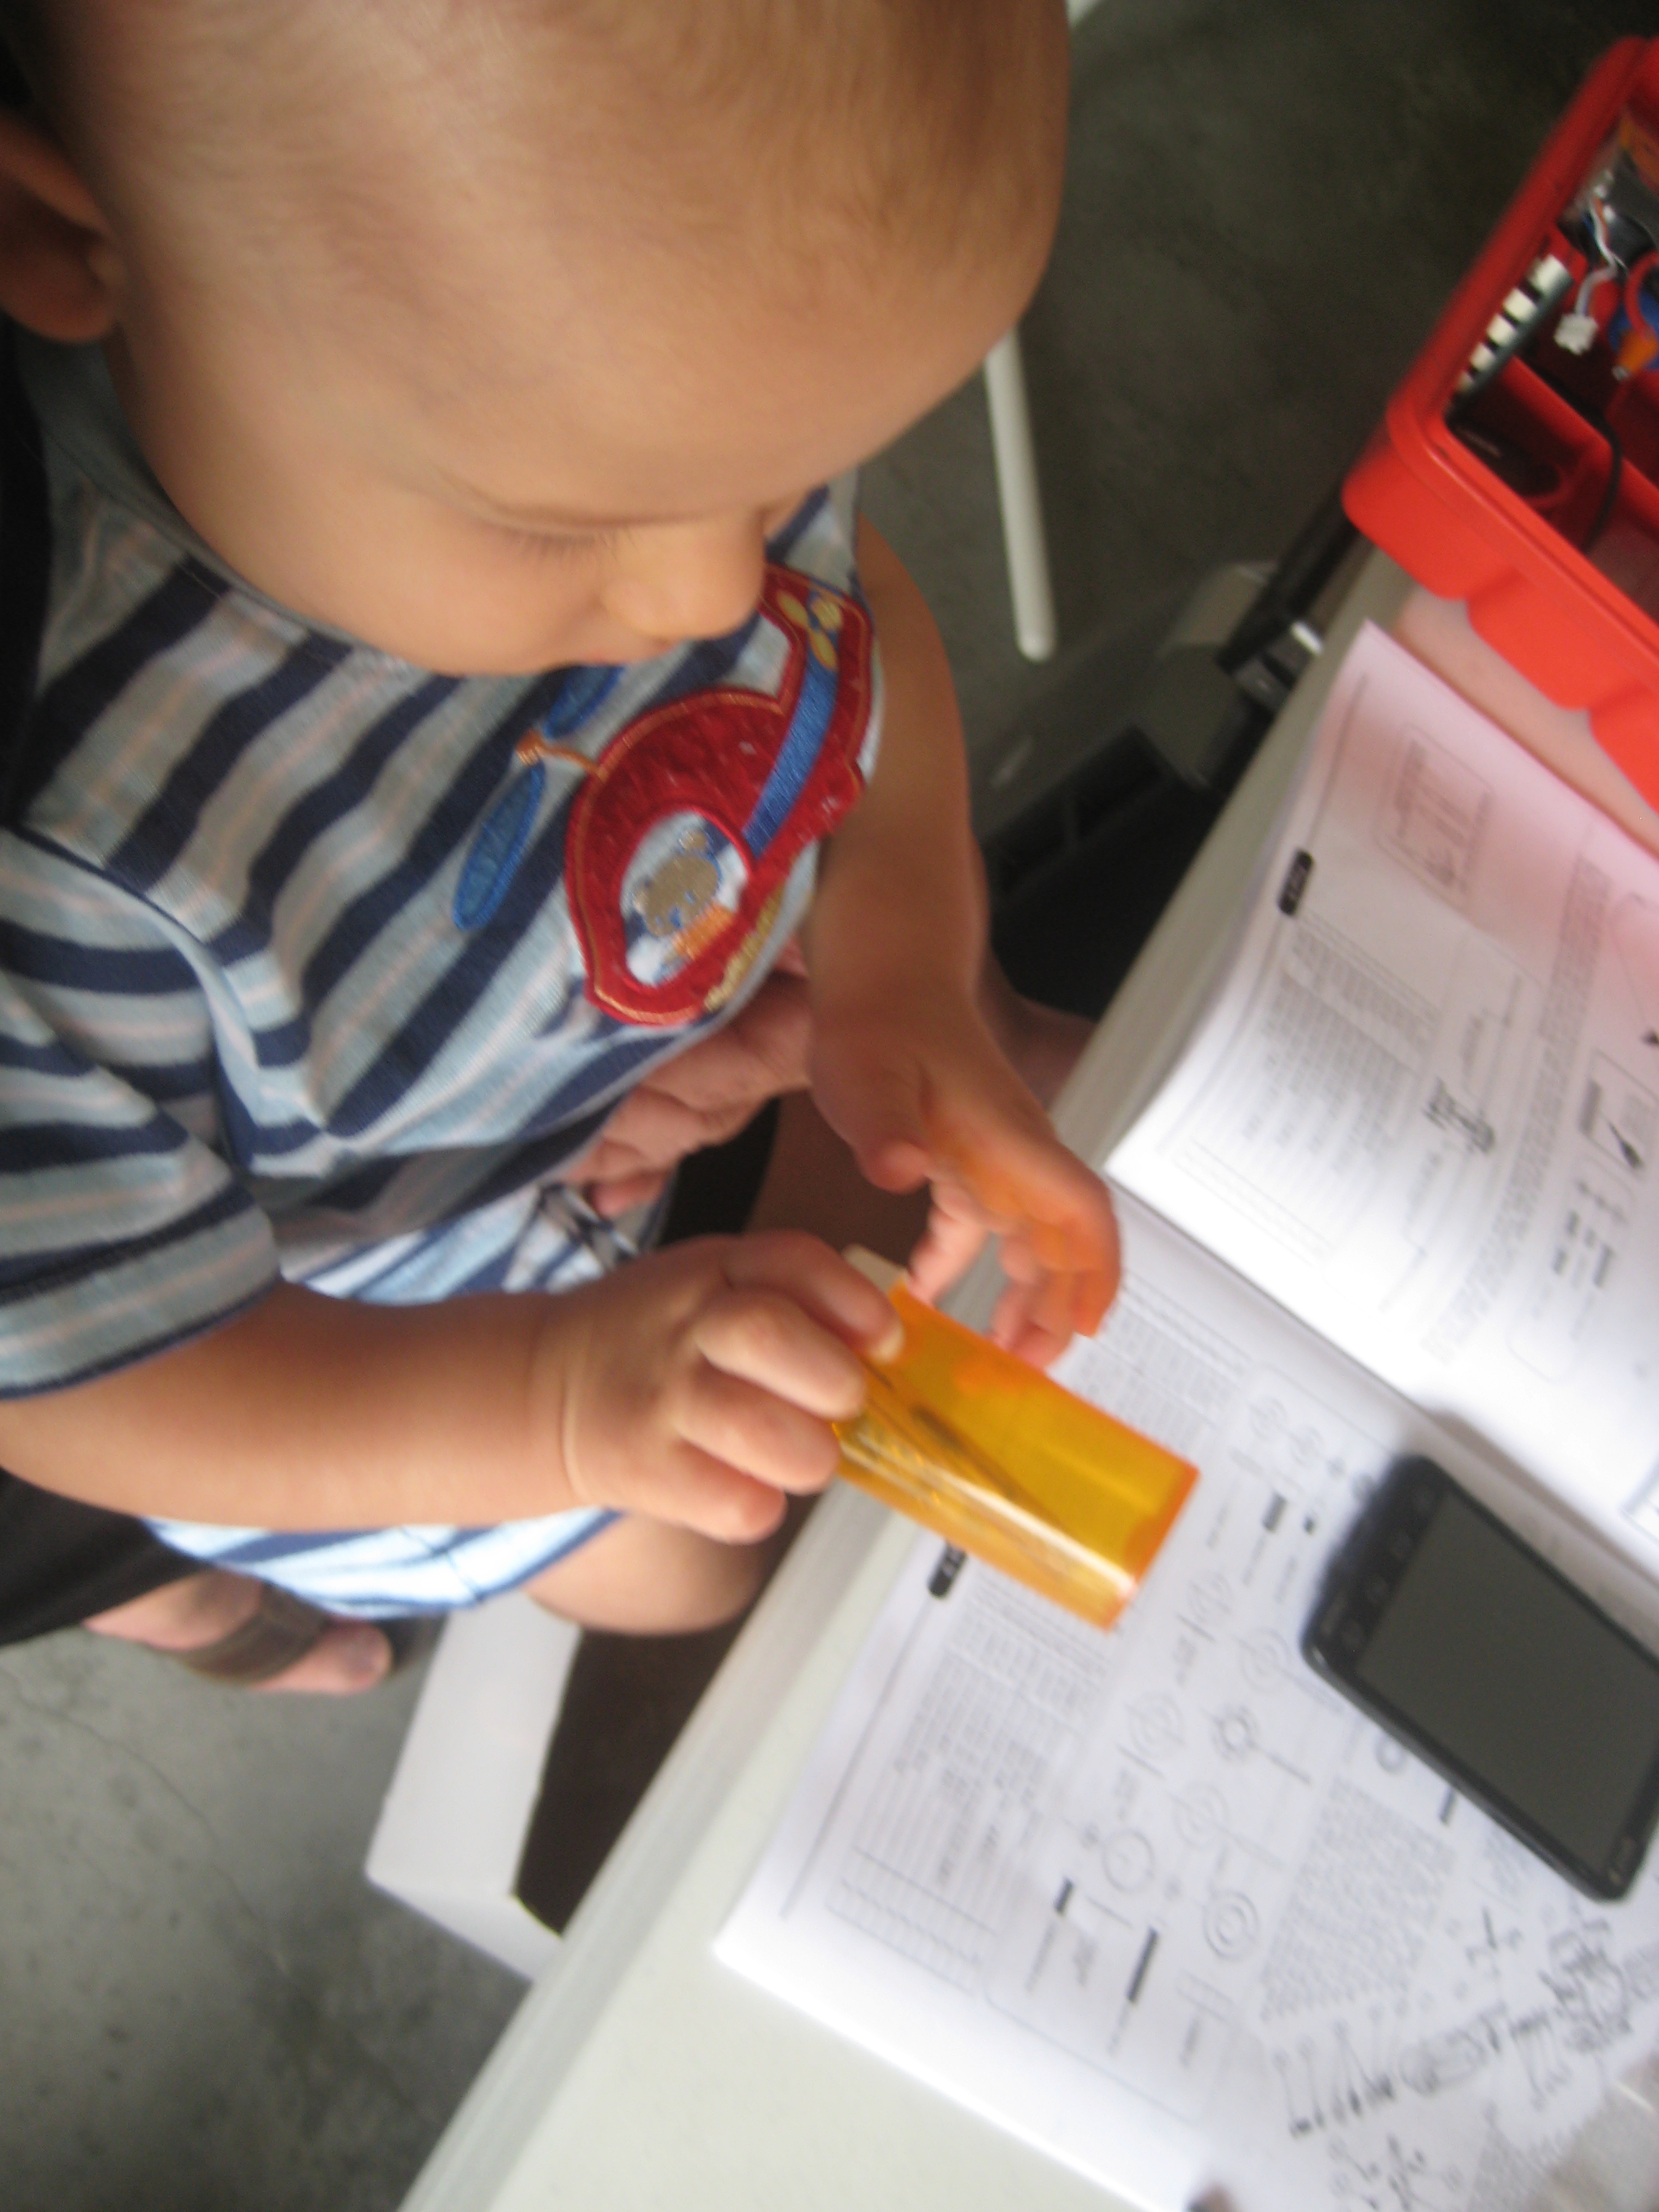
What you see Samuel holding was my make-shift rattle. My friend, Stuart, shared a tip with me that old medicine bottles could be re-purposed to hold screws. This one was empty in my tool kit so I dropped some spare screws from my stash and gave them to Samuel so he could entertain himself as I continued putting some pieces together. The next few pictures are gratuitous, he’s my son and I love him… deal with it!
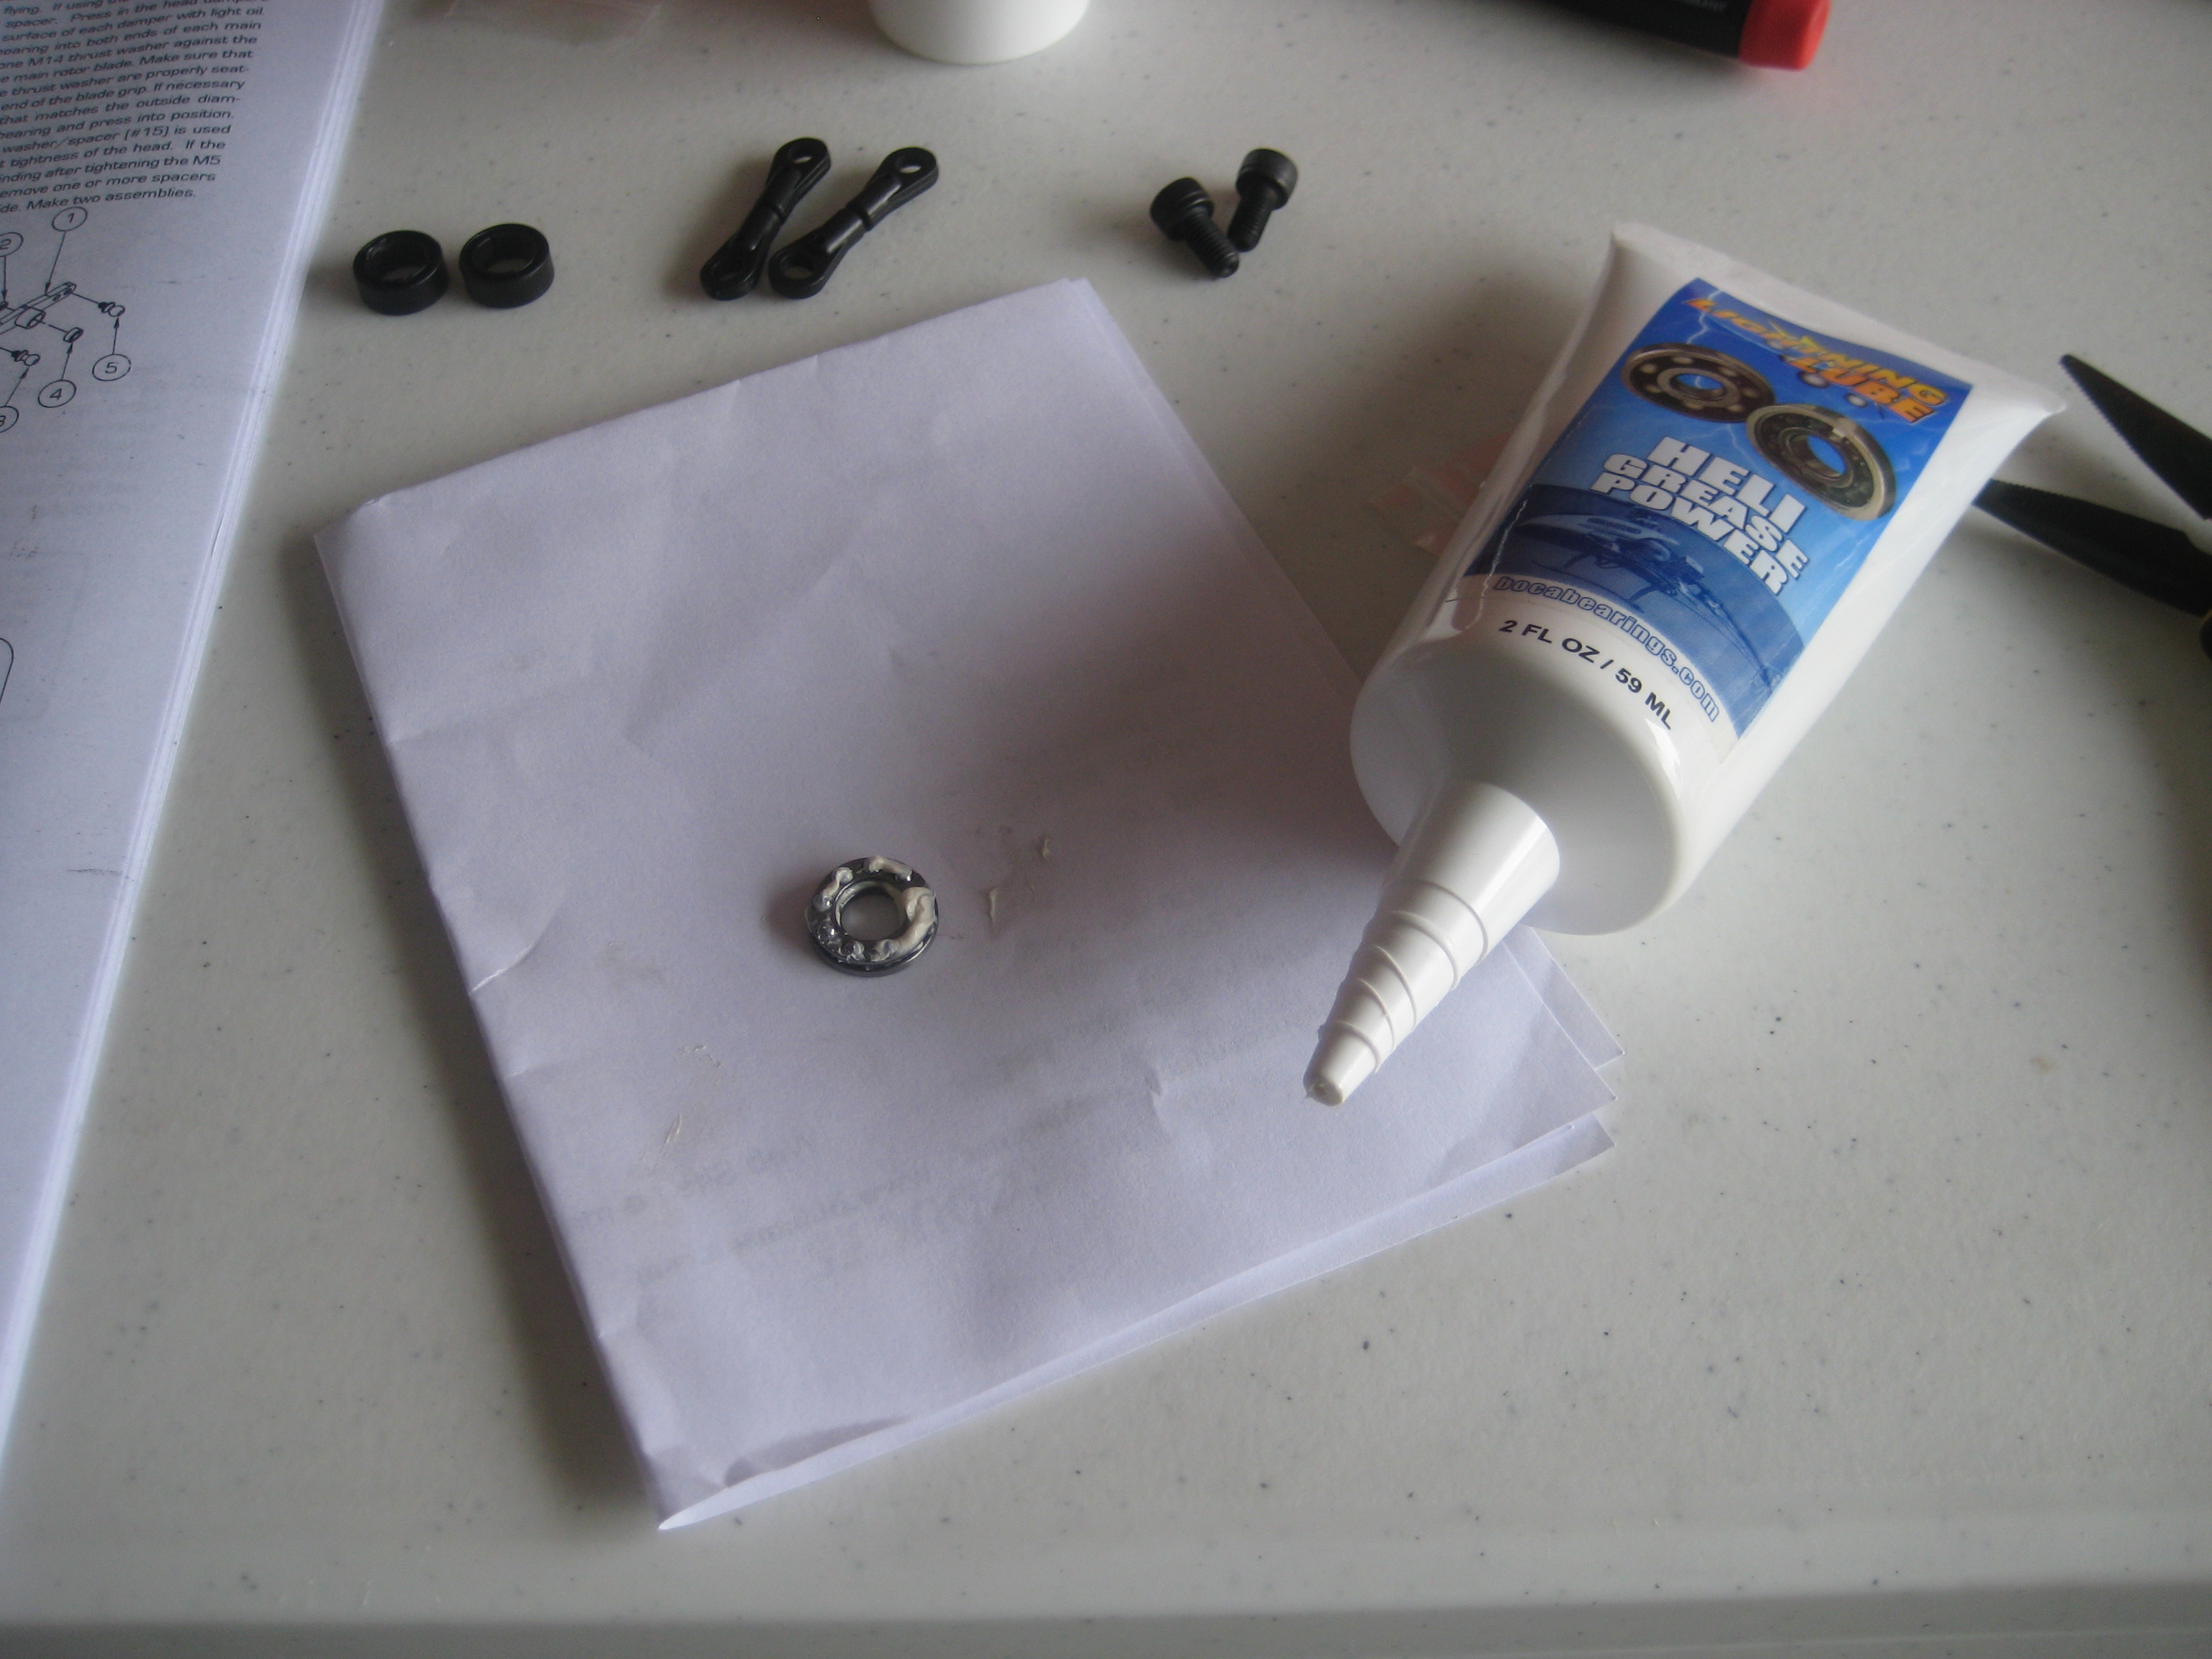
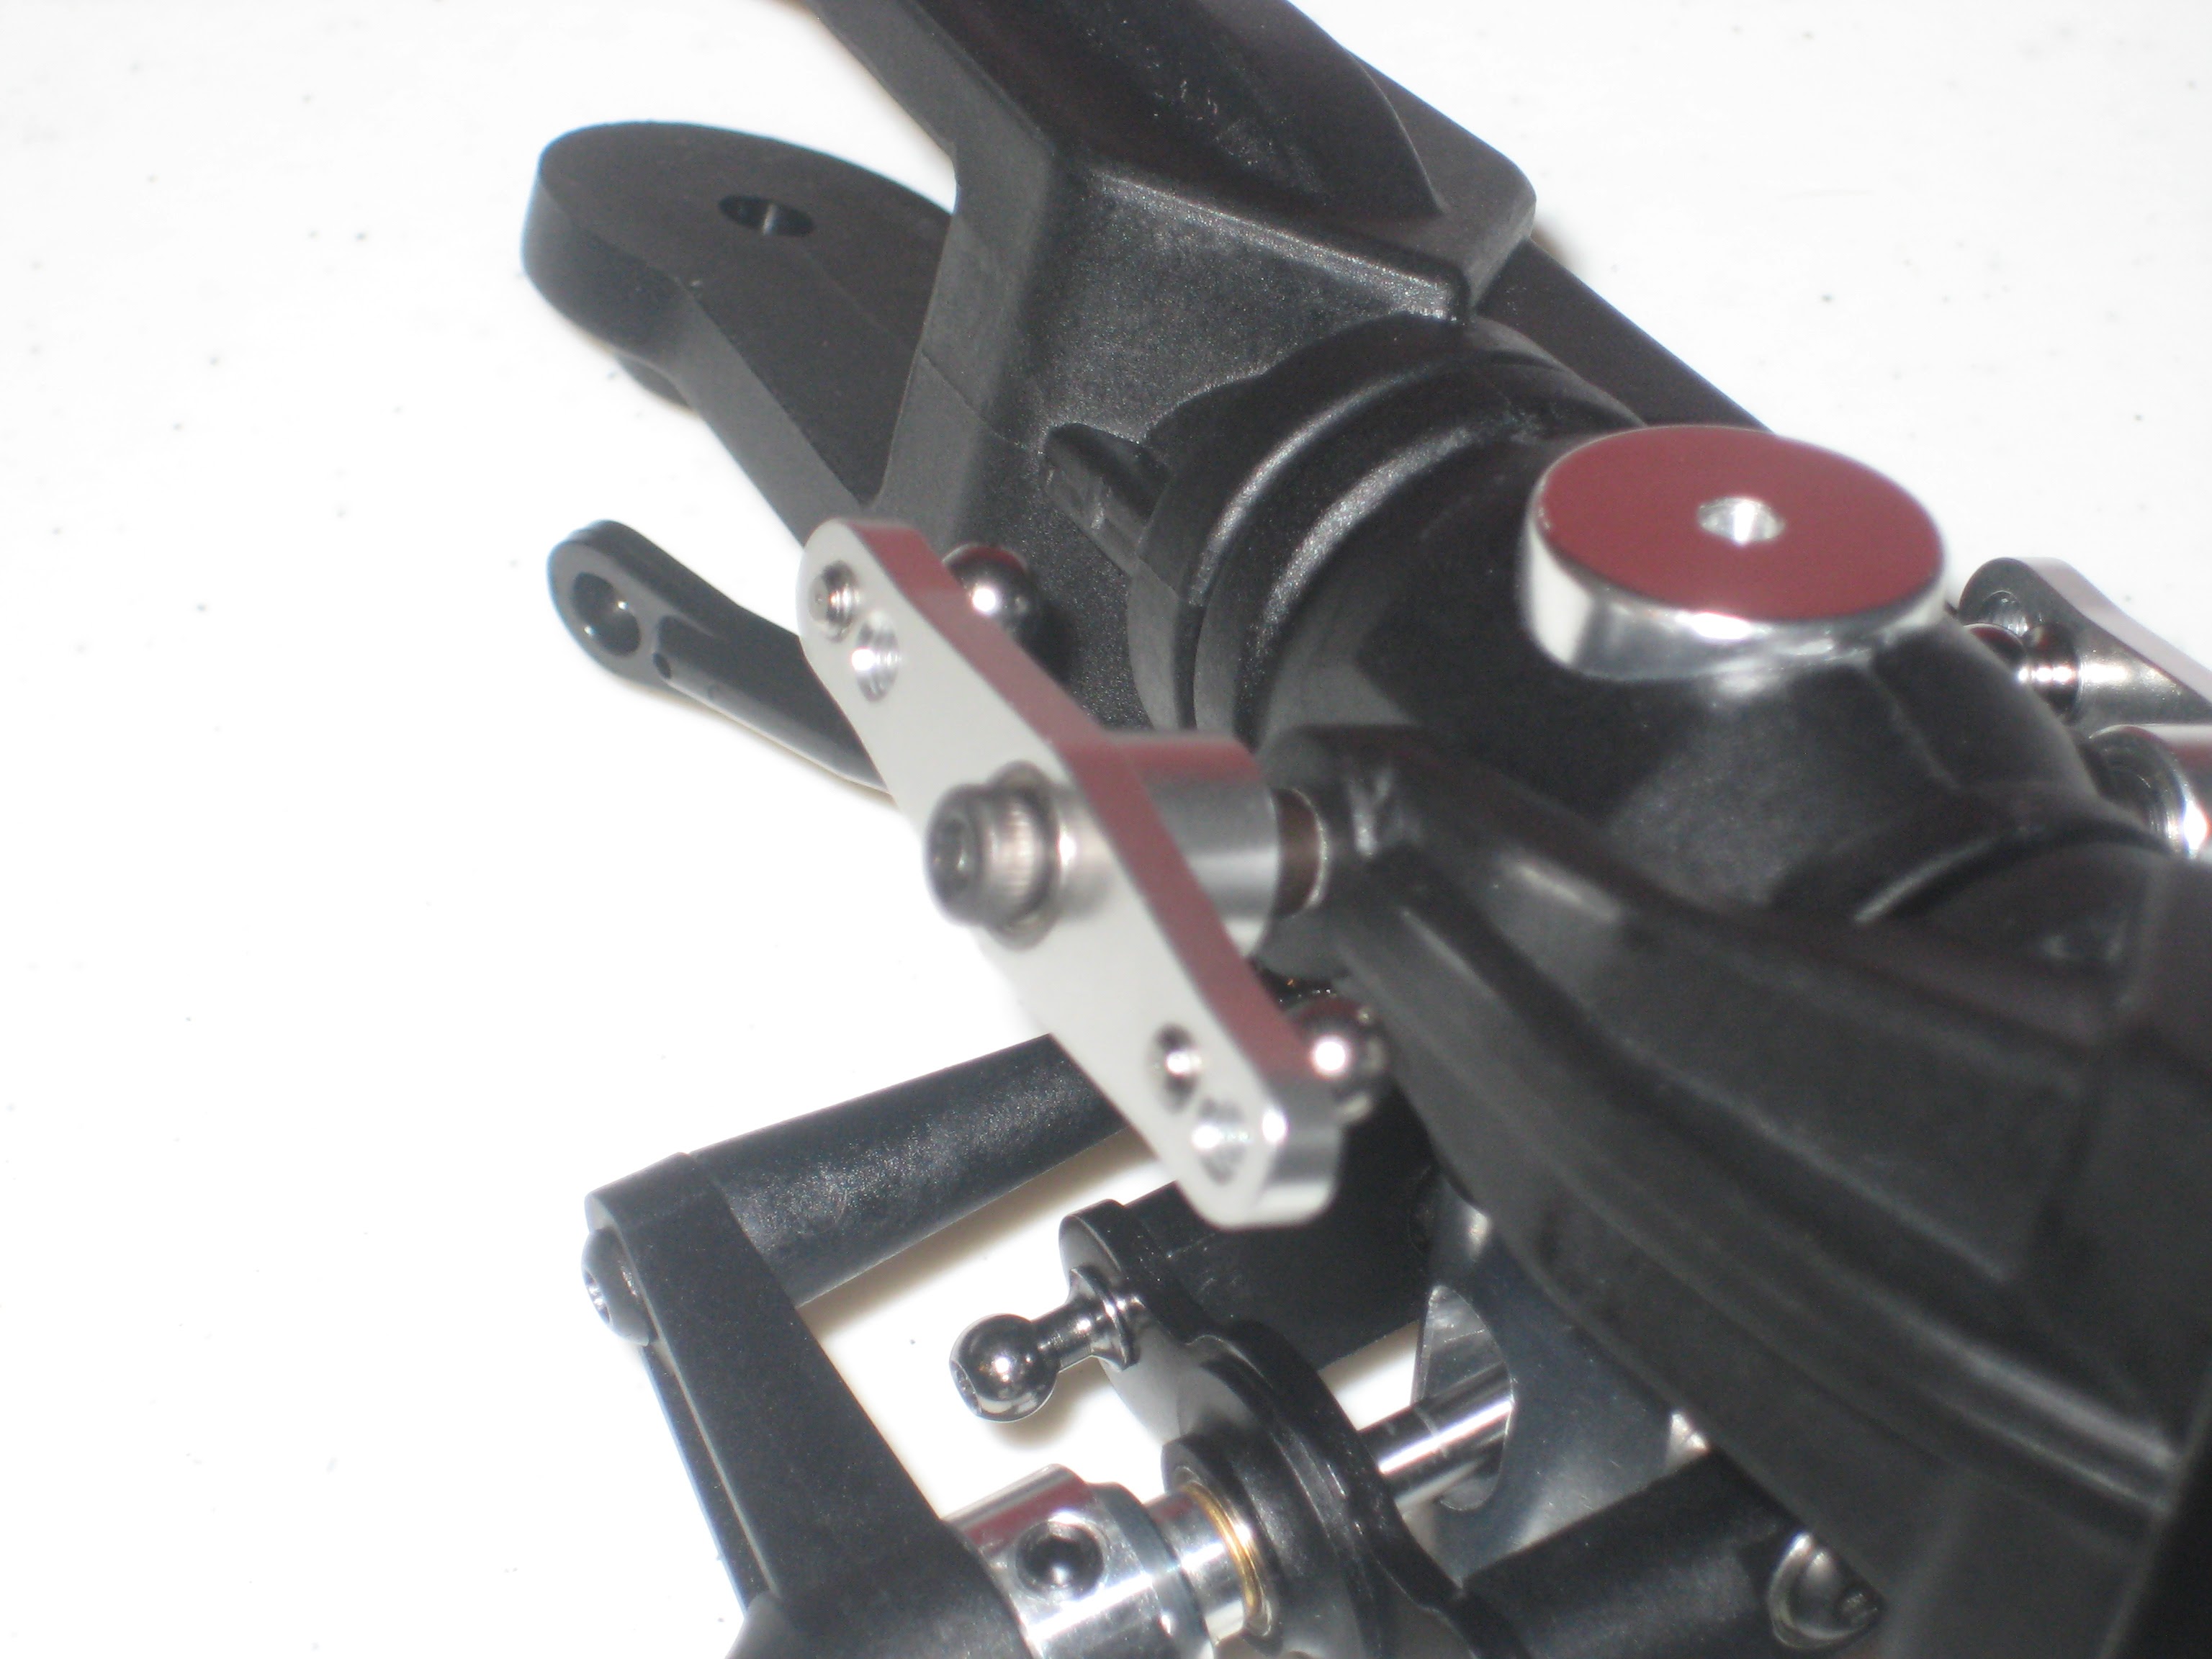
The overall head assembly has been fairly easy so far. No major issues to report and everything was fitting together and coming together quite nicely (asides from having to use anti-gravity as stated above). Next steps involved assembling the blade grips into the rotor head, which meant greasing up the thrust bearings and selecting dampers. I’m starting to learn the difference between the two flybared heads that are offered for the Radikal G20. The LT head doesn’t really give you much options and is a good, solid sport-flying head. The HD head (the one I have) is geared towards 3D flight but can be tamed for sport and scale flight. Why did I go into that lengthy description of the heads? Because I couldn’t find that info ANYWHERE as I was researching this helicopter! Additionally, I had some decisions to make here. I had to decide on the Bell mixing rate as well as the types of dampers to install. I chose to leave the mixing rate mild for sport and scale flight and I chose the red, soft dampers instead of the black, hard ones. Since this is a new machine for me, I will start off slow and then build up some courage (as well as a crash budget).
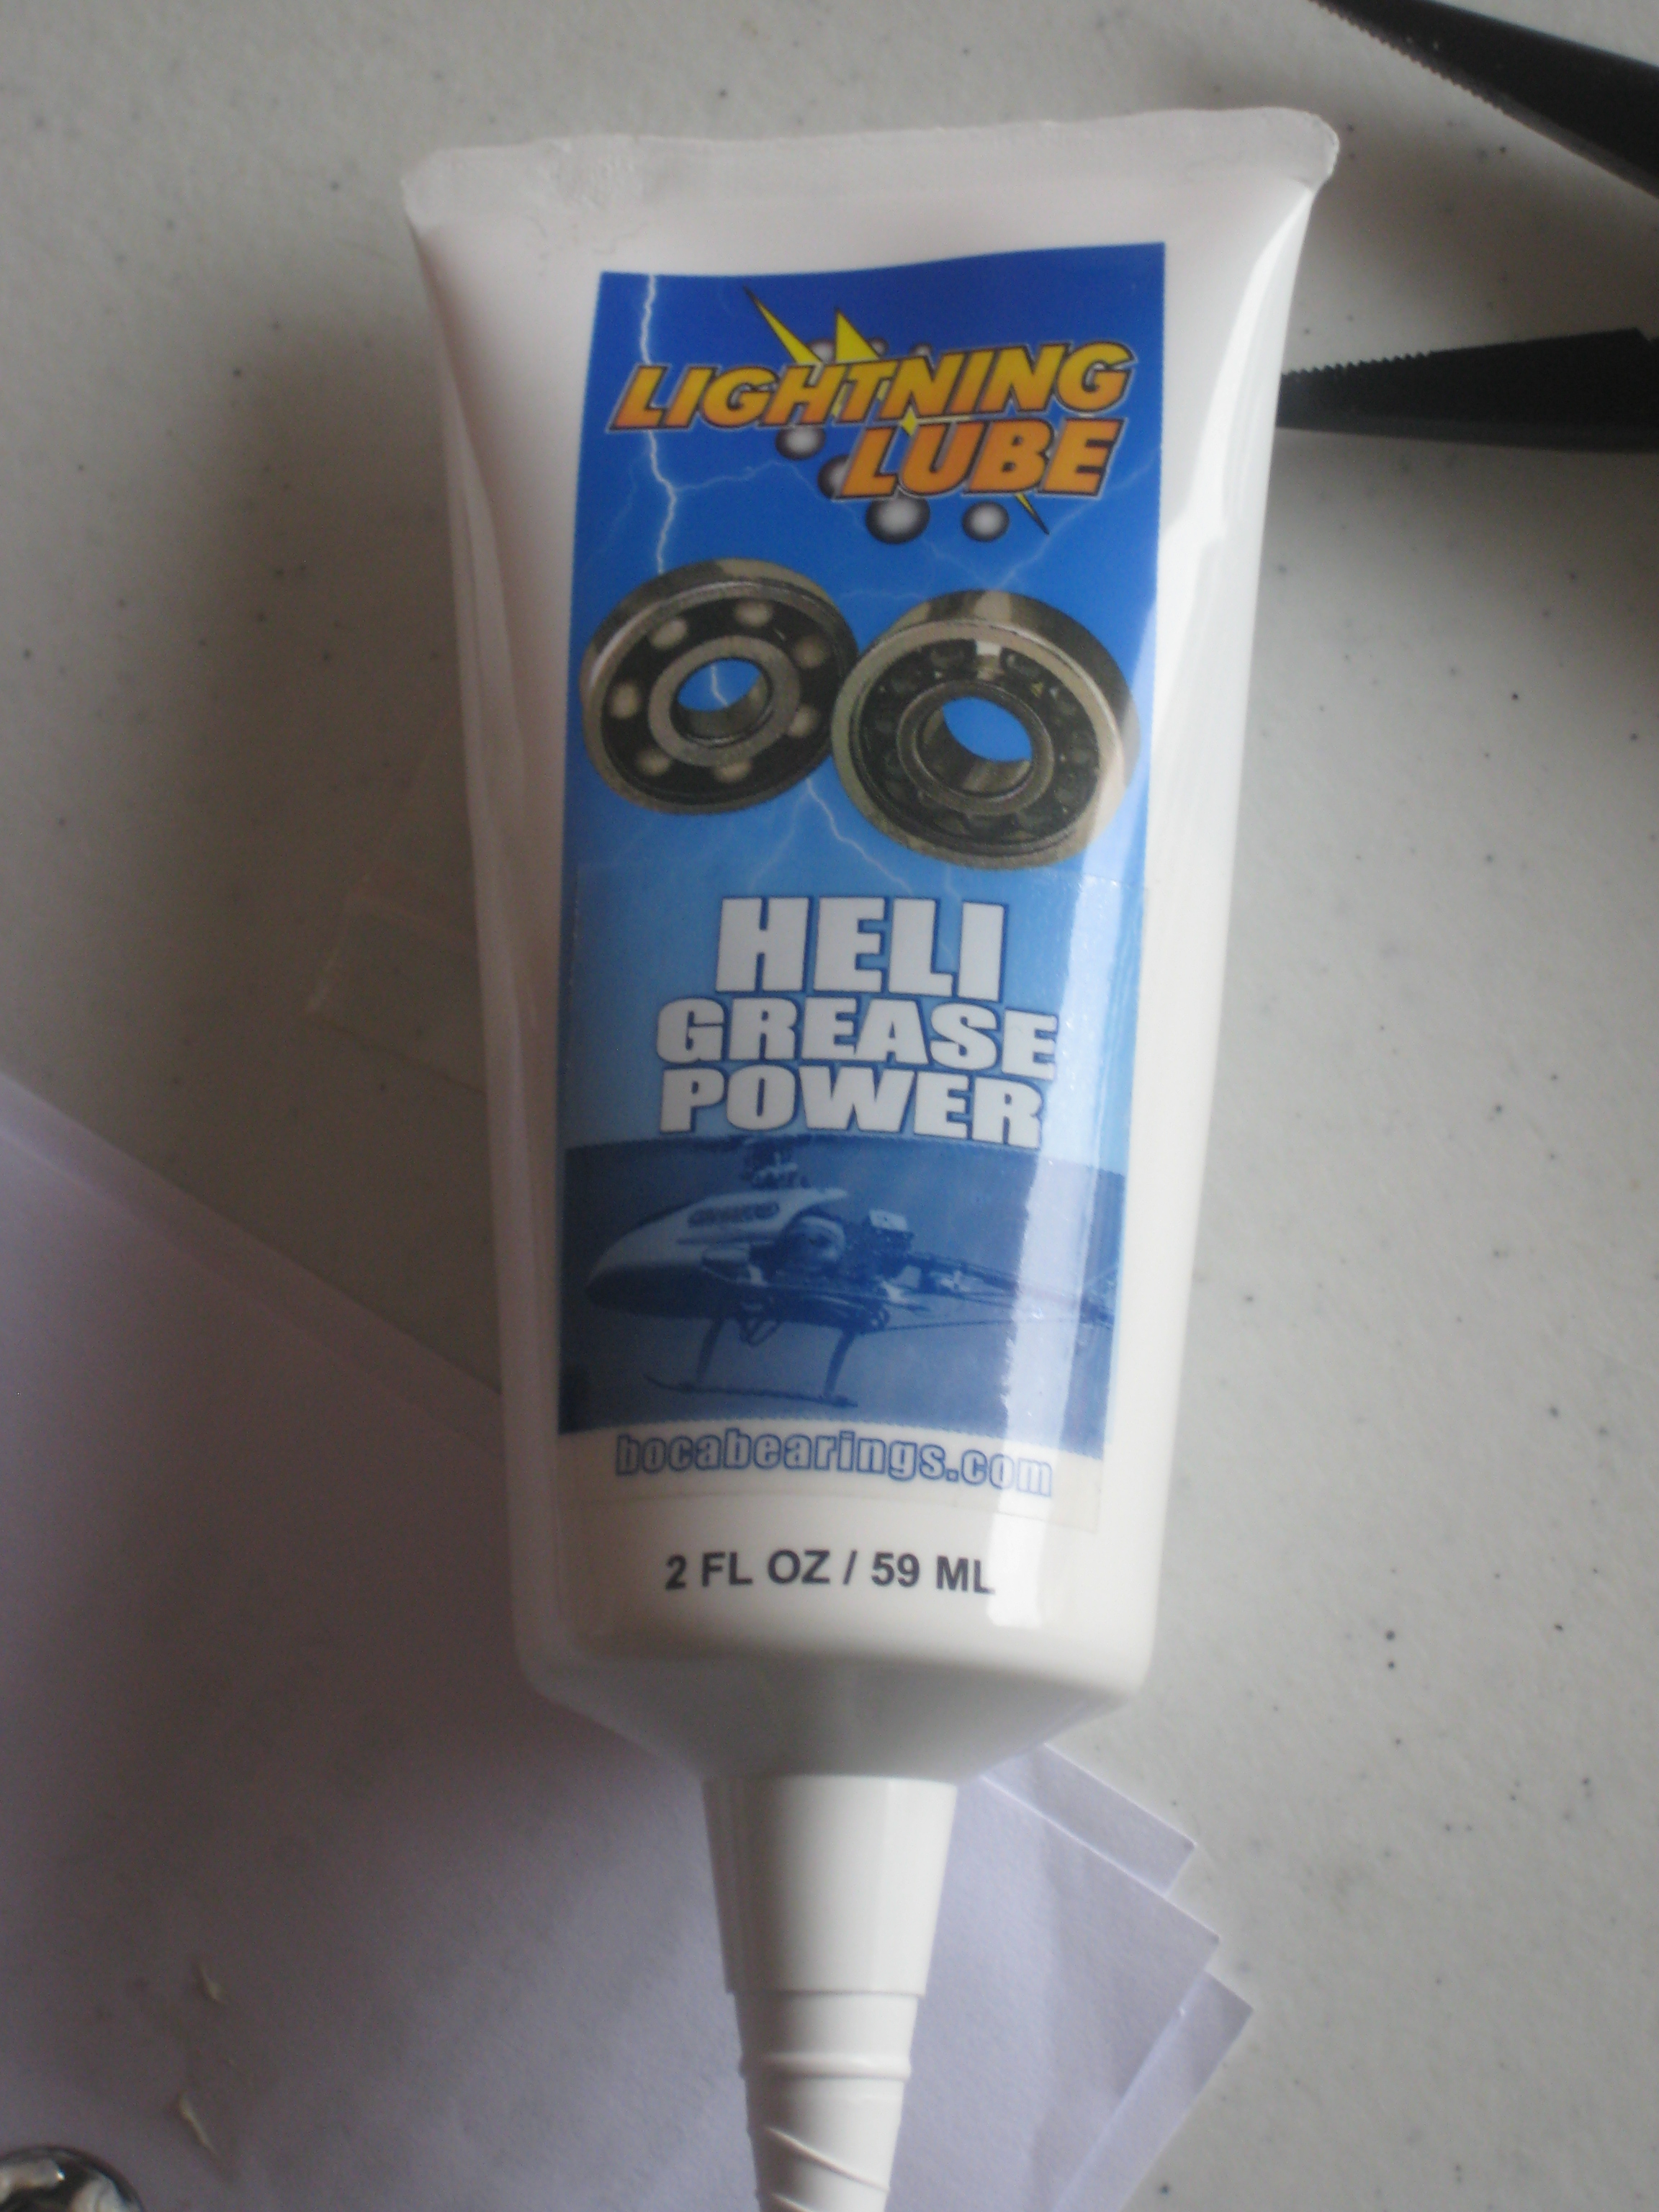
Thanks to Stuart’s suggestions, I had a tube of Ligthning Lube Heli Grease Power on hand to lube up the thrust bearings. A light oil (left over from my original TRex 450 build) took care of lubricating the feathering shaft and dampers. So far the head was looking great and coming together well!
I want to make a quick note about the Bell mixing arms (this was quite a departure from the 450’s since they handle Bell-Hiller mixing quite differently). Please make sure you use CA when inserting the screw into the blade grip. You will not be tightening this all the way (so the arm can swivel freely and not bind) so you DON’T want that screw backing out! Make sure you tighten until there is no play but the arm still moves freely.
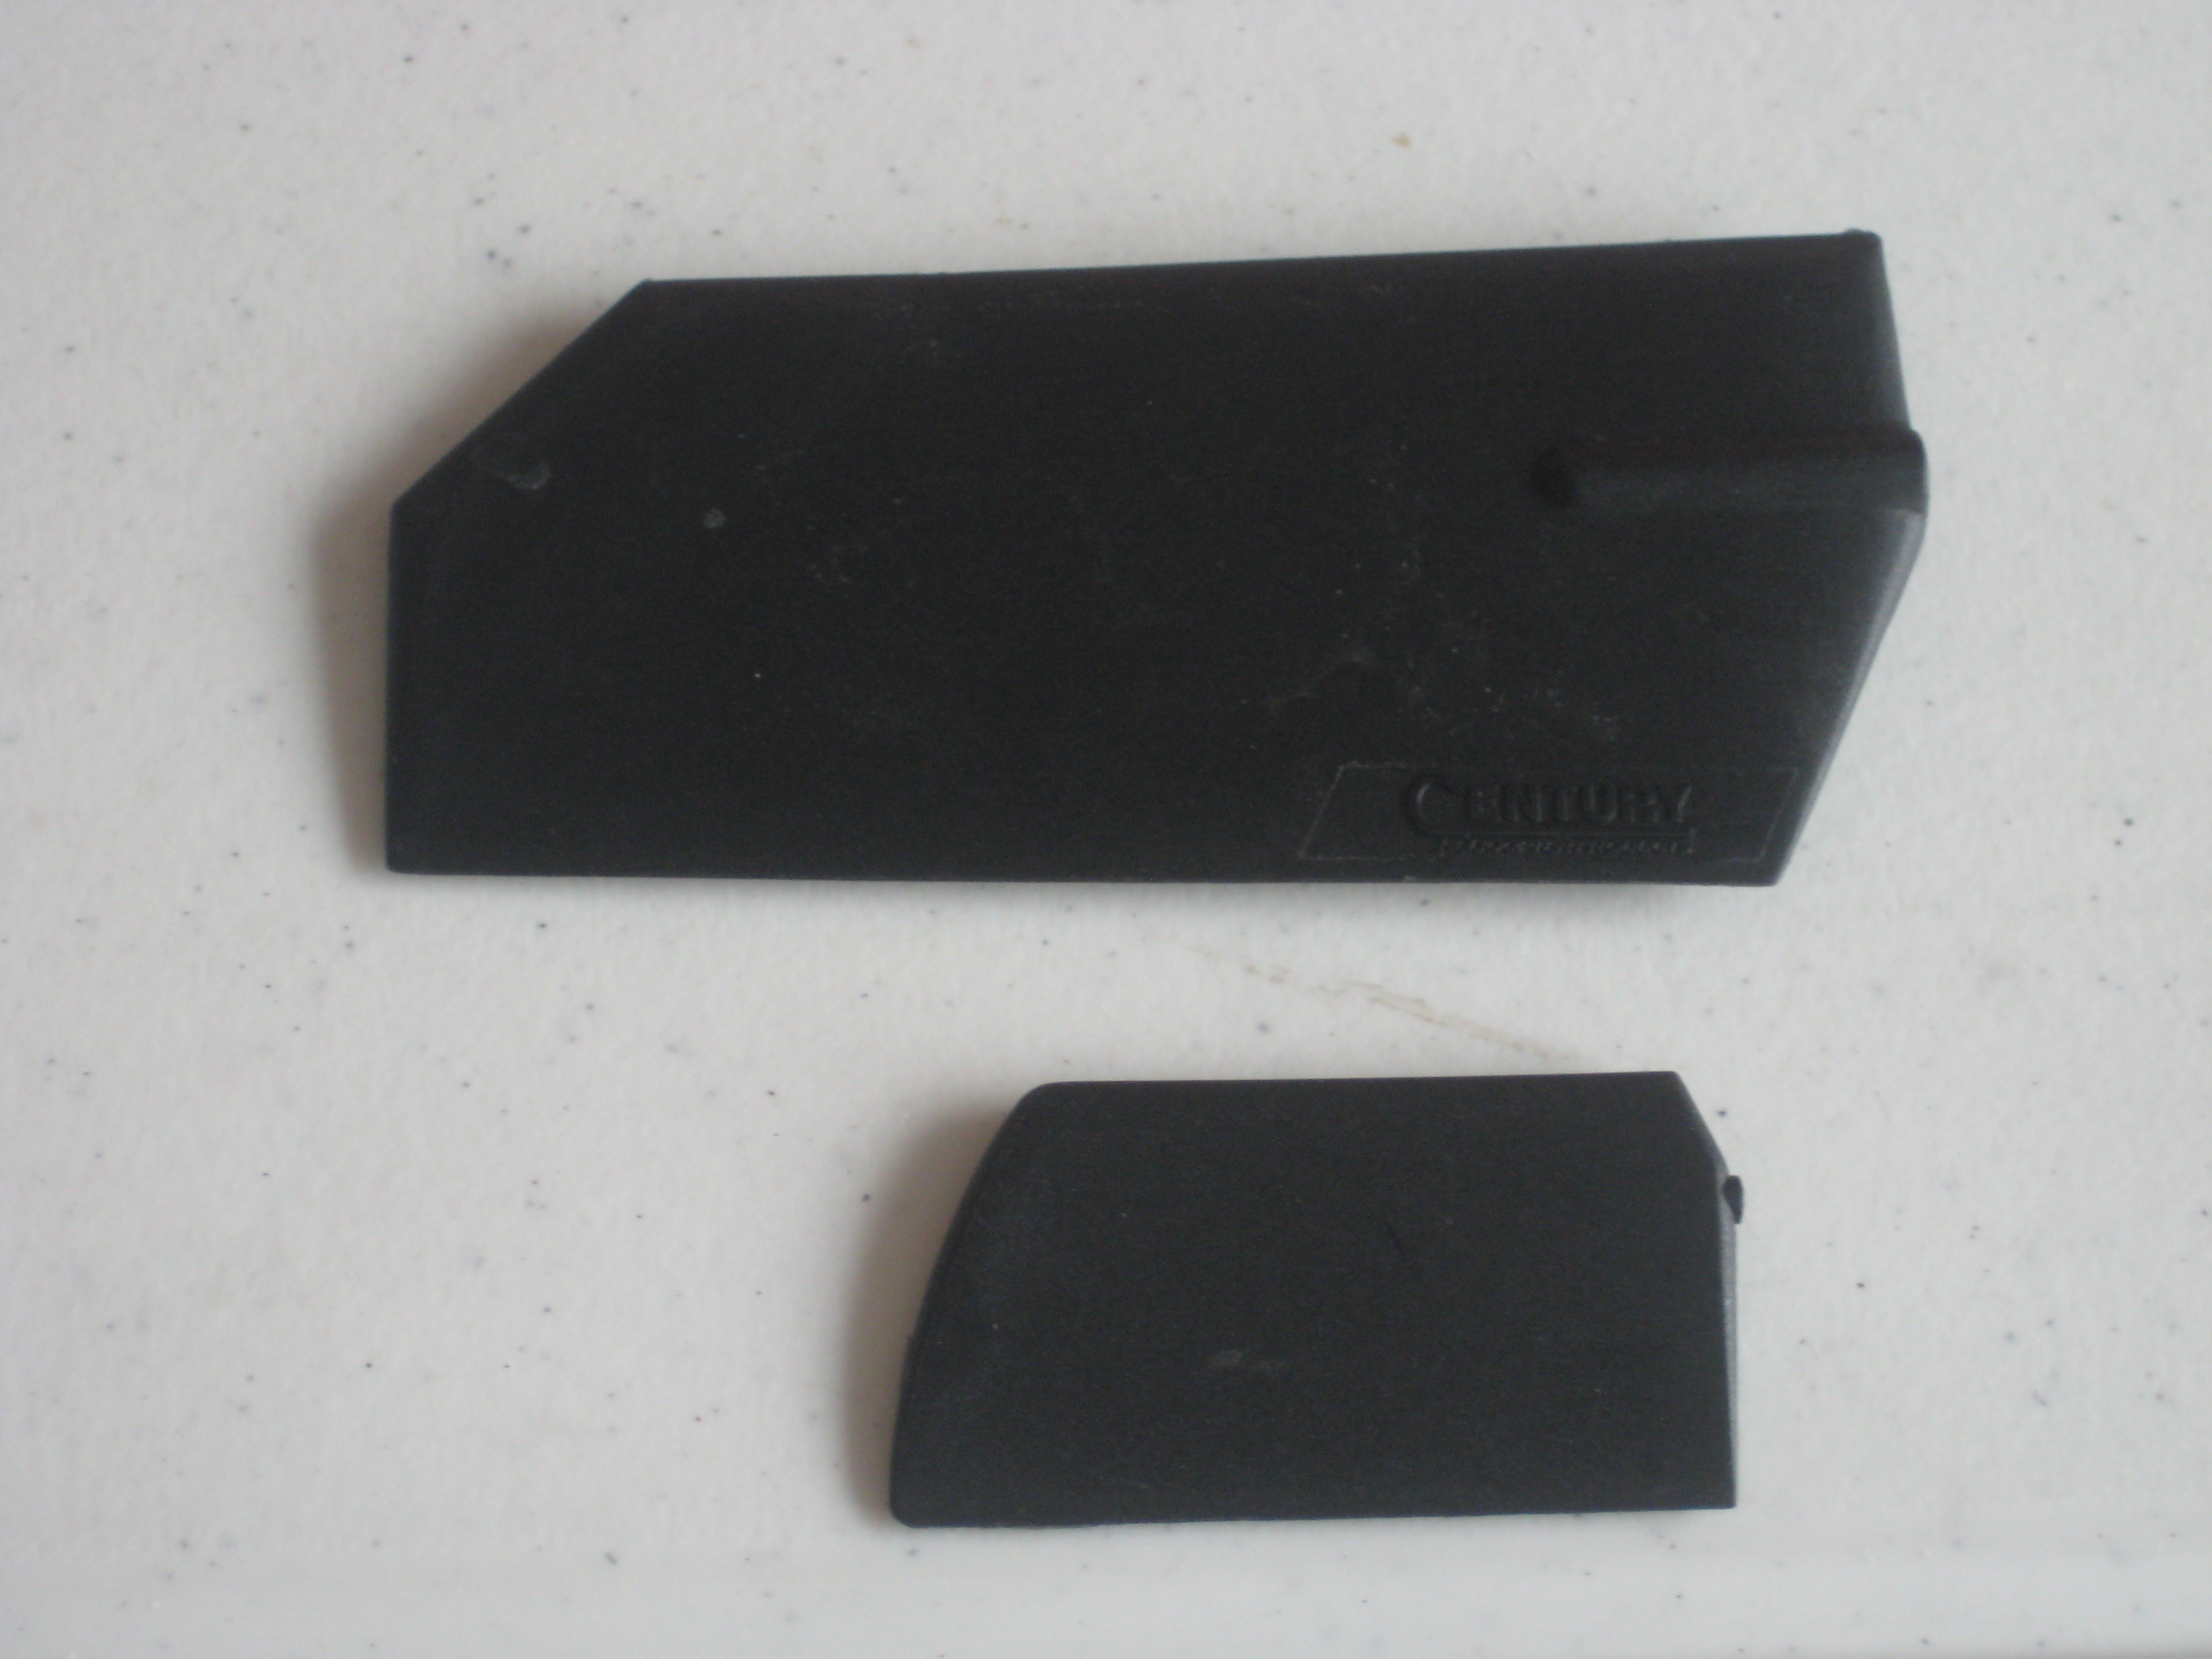
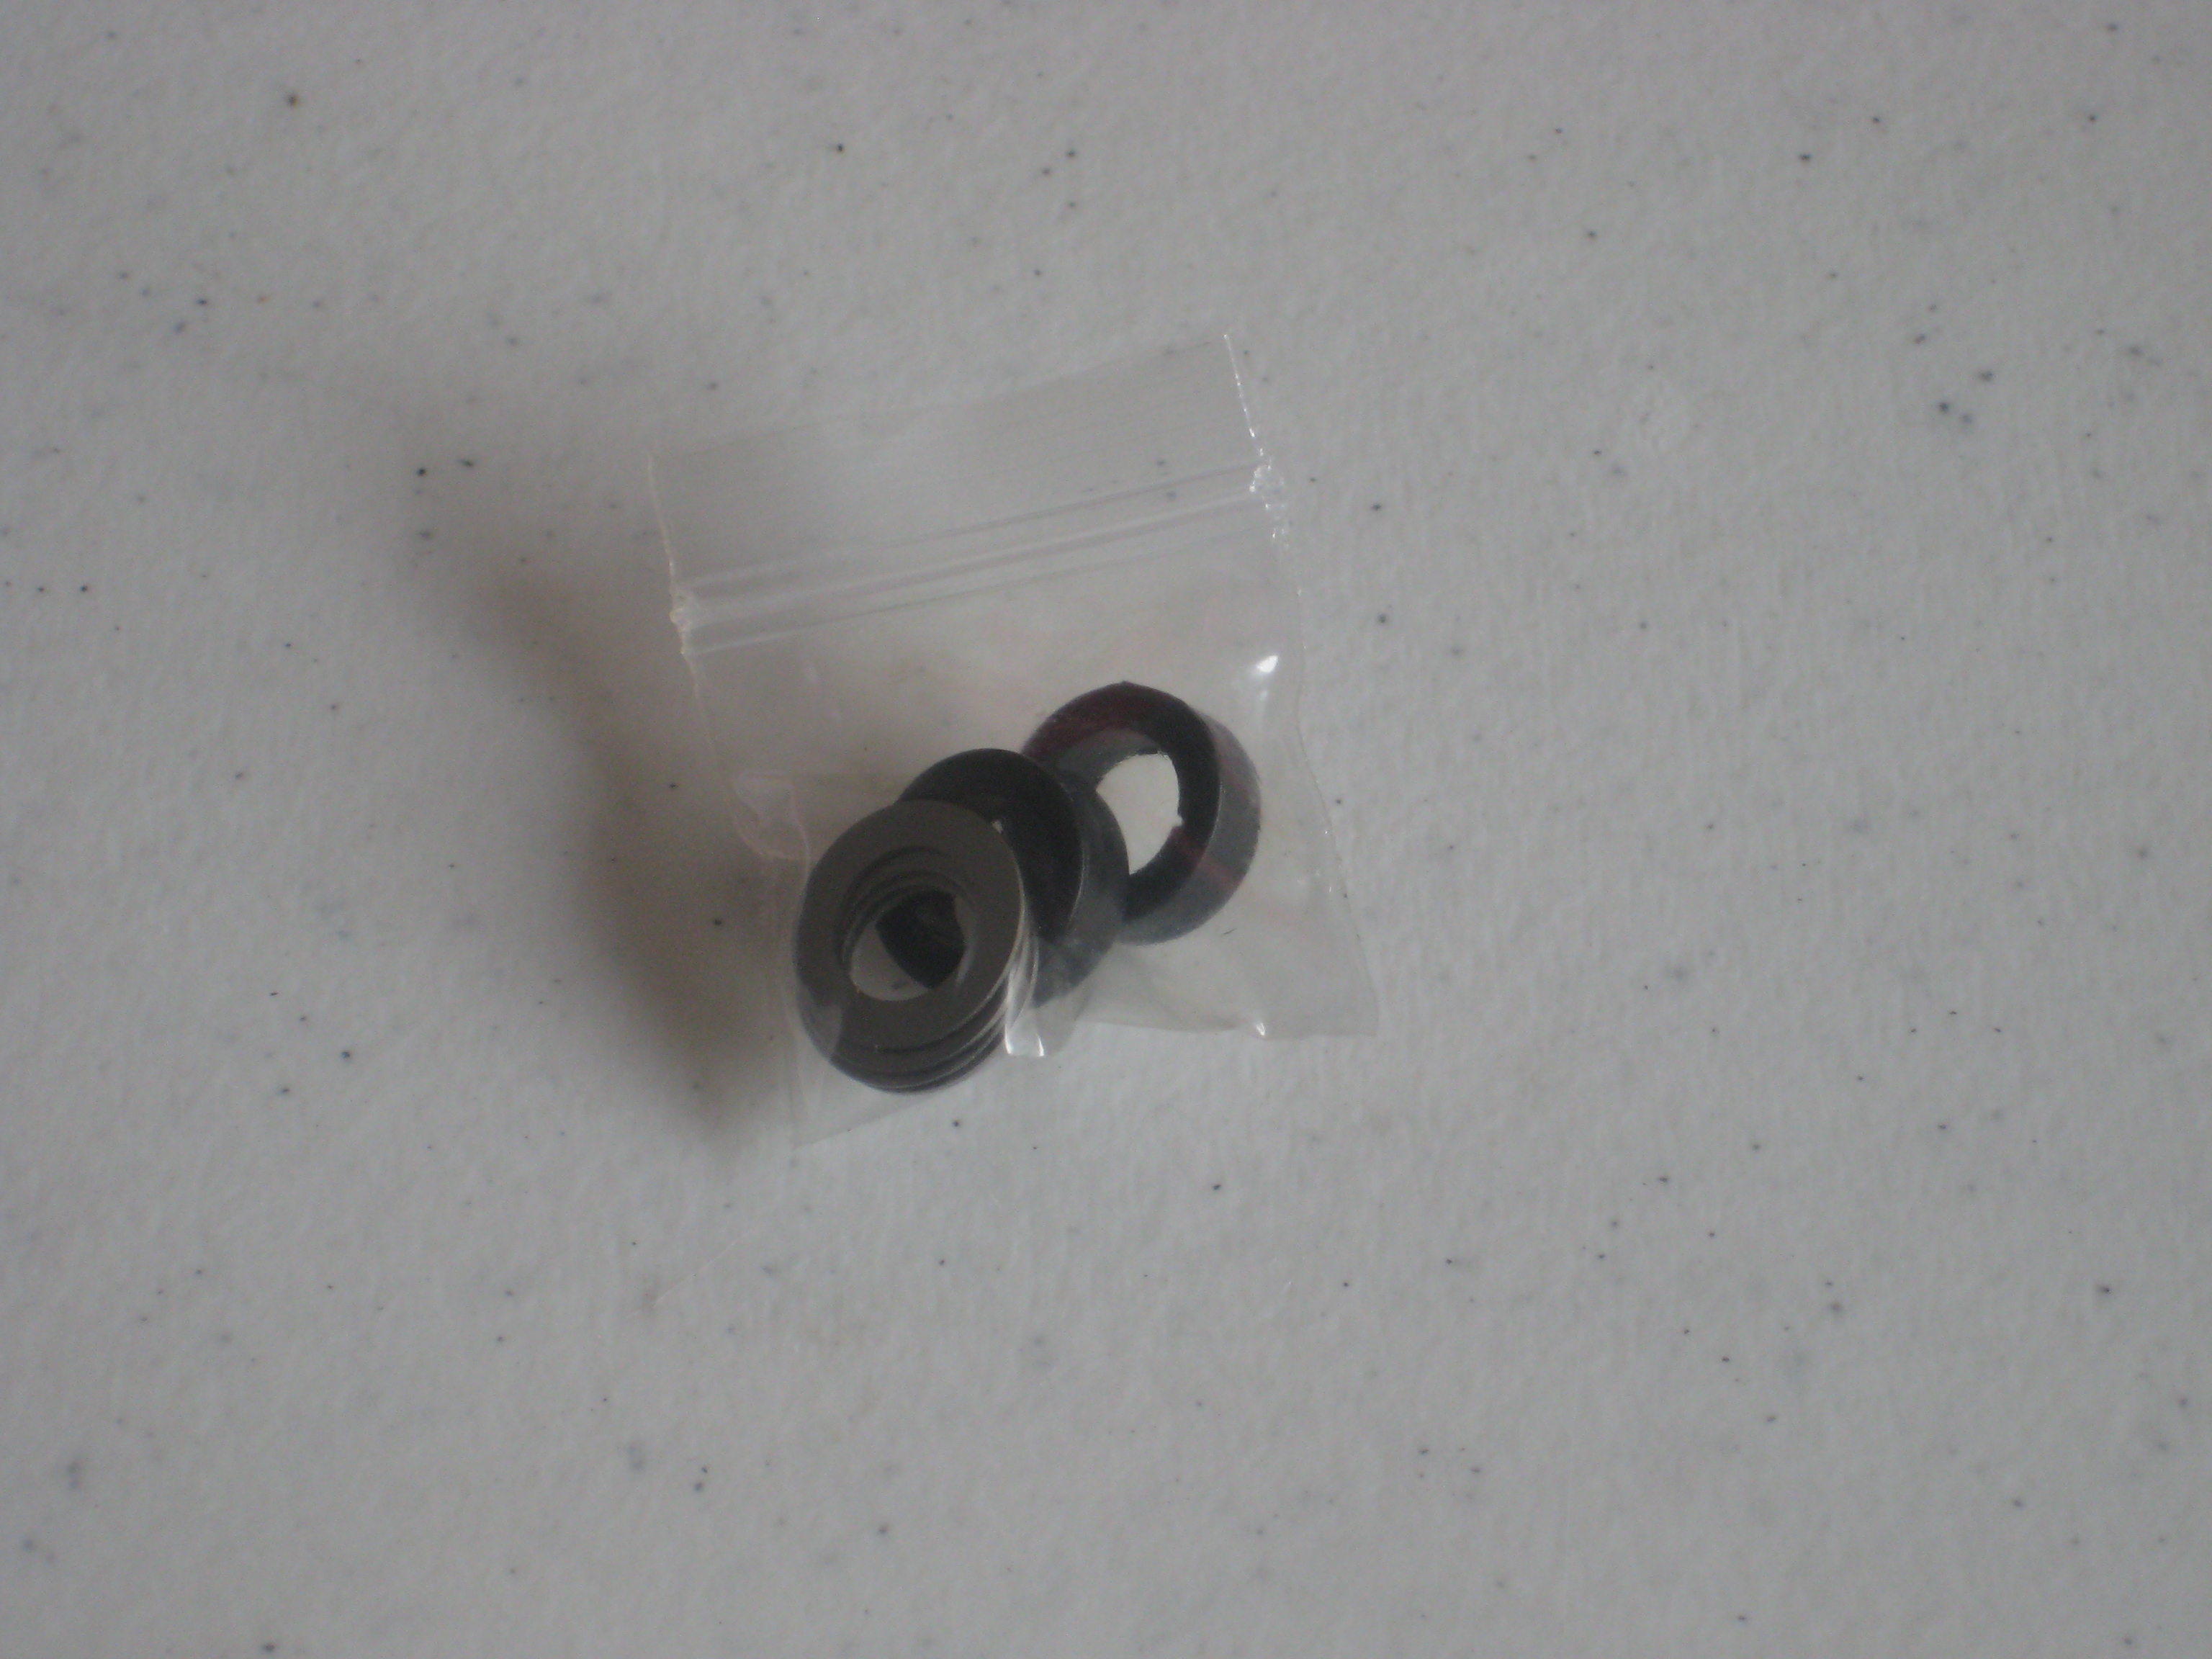
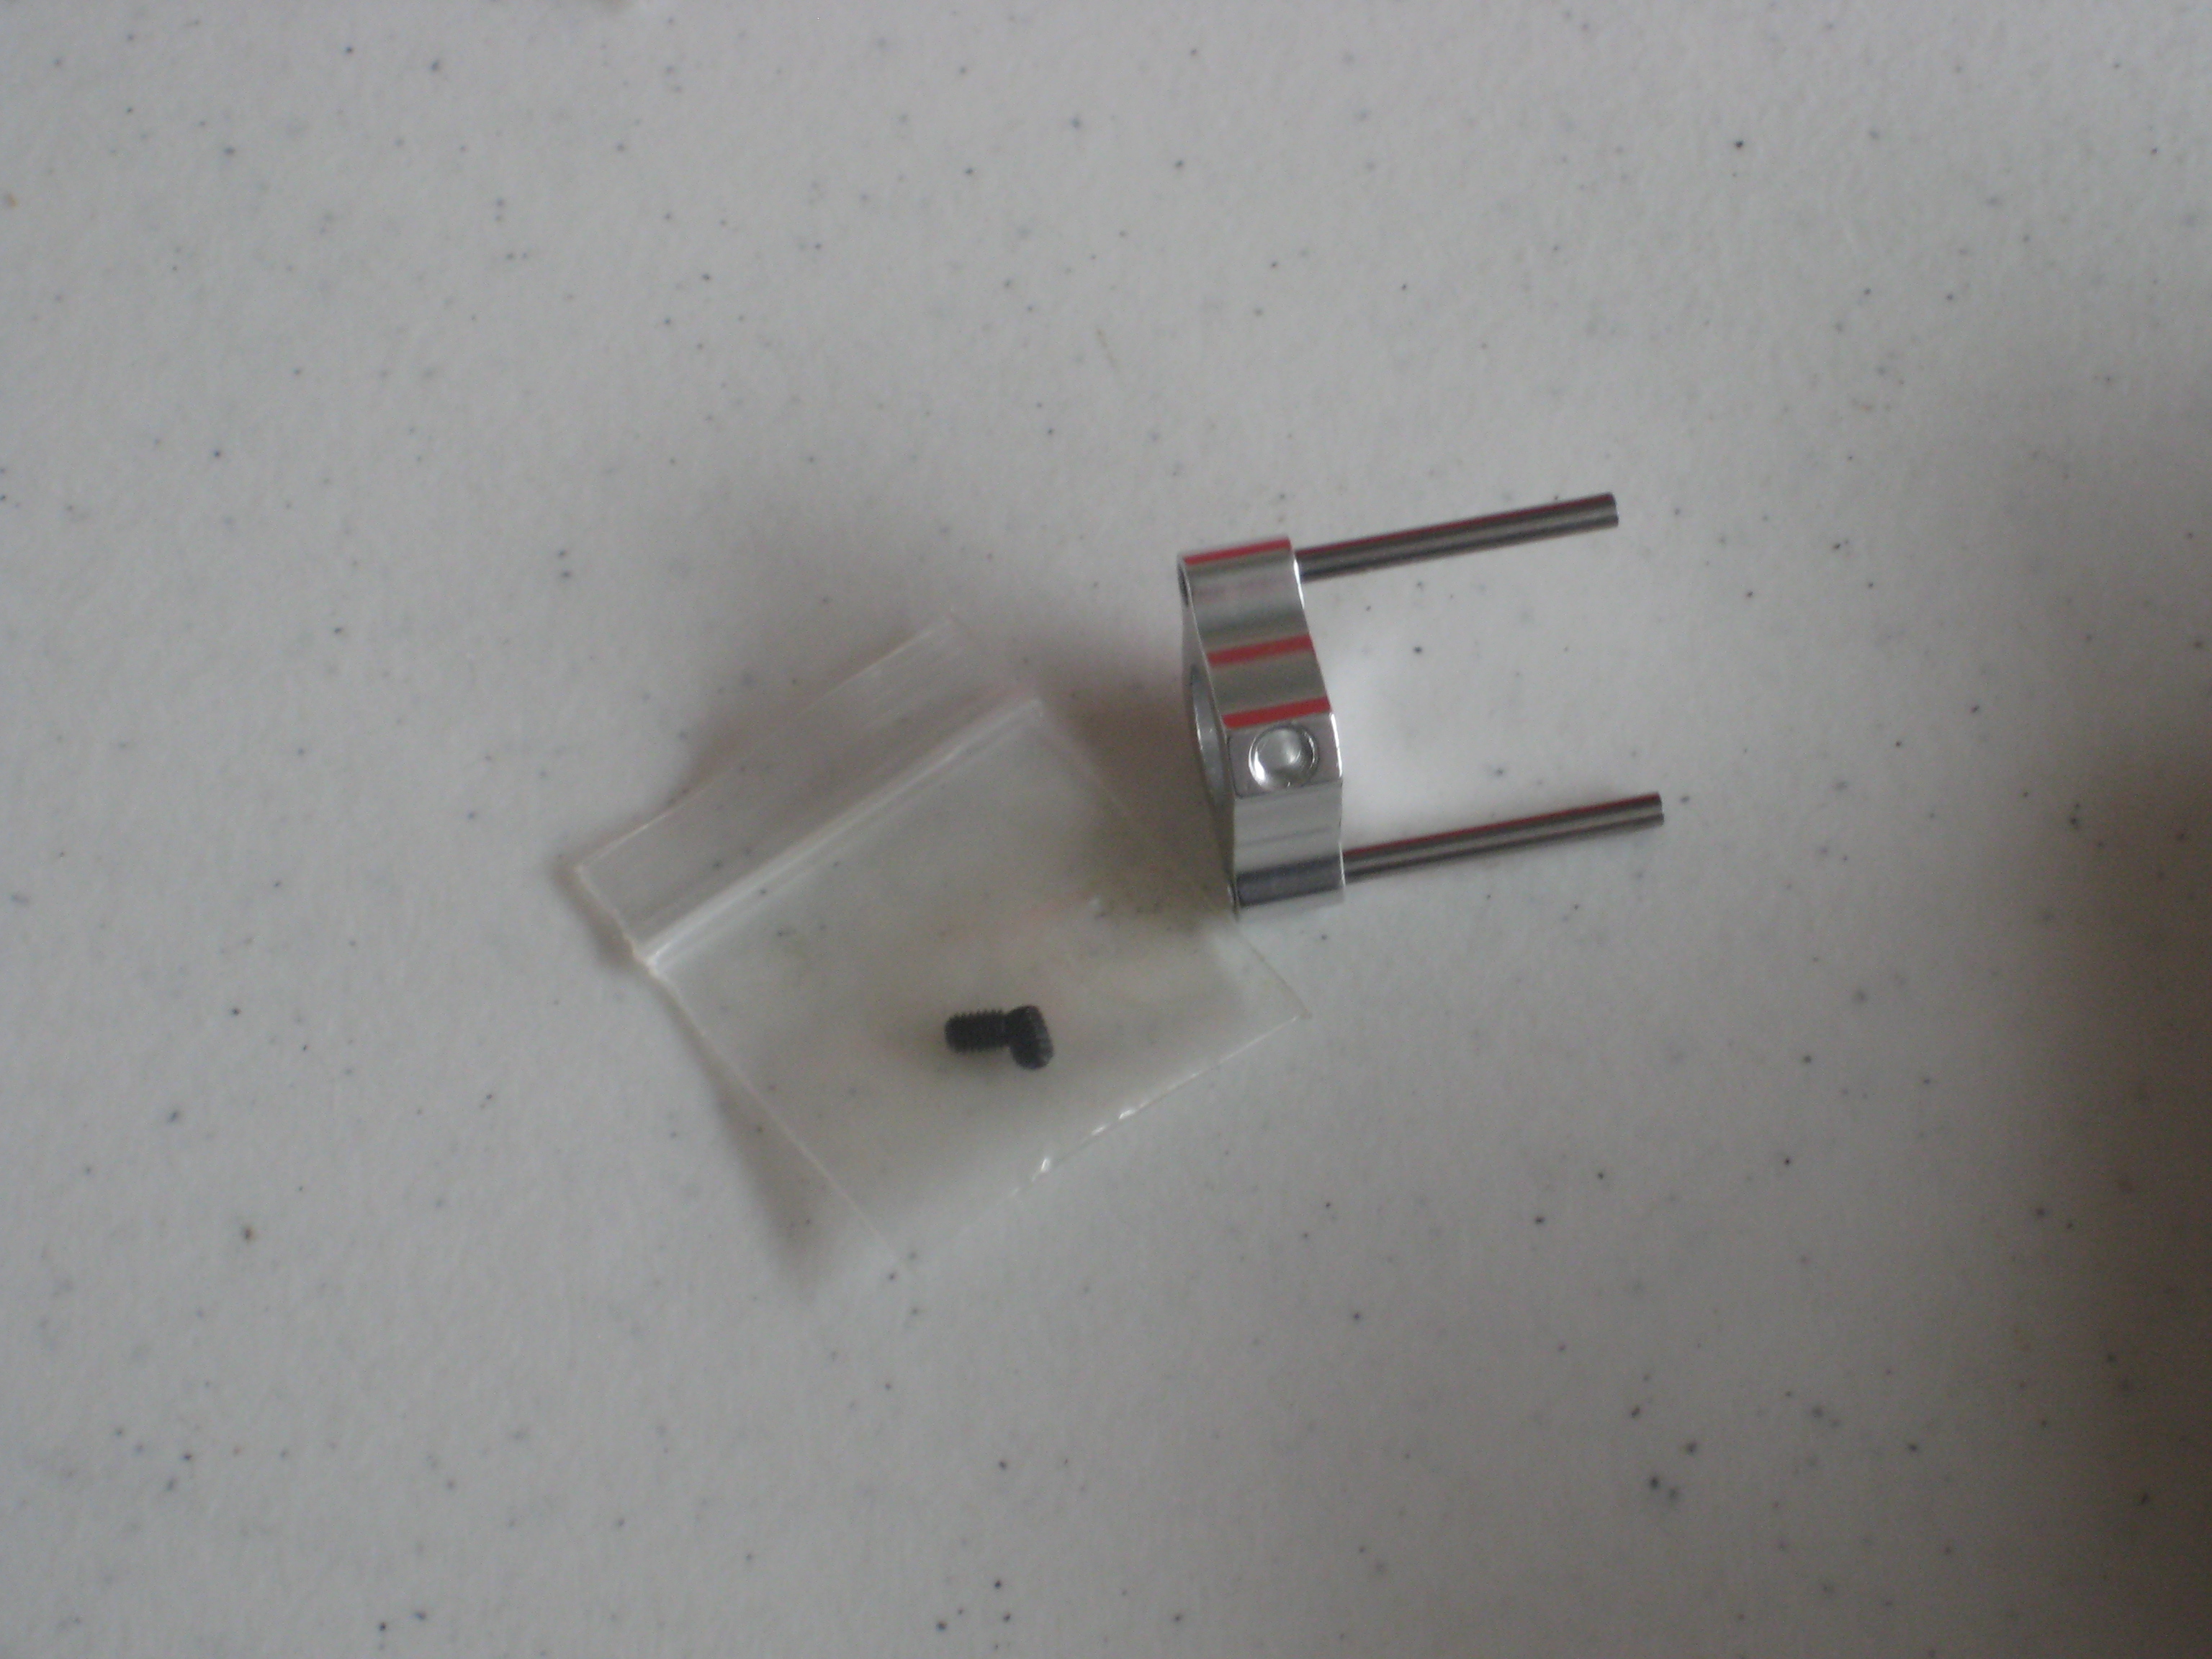
After I tightened up both sides of the feathering shaft, I got some binding on the main grips so I had to back out and adjust by removing some of the washer/shims between the rotor head and blade grips. As it turns out, I only needed one washer on each side. Here are the leftovers: four washers (two from each side) and the black 3D dampers.
Next I got to work with the main shaft. Here’s a comparison between the 450 and Radikal. What a difference!
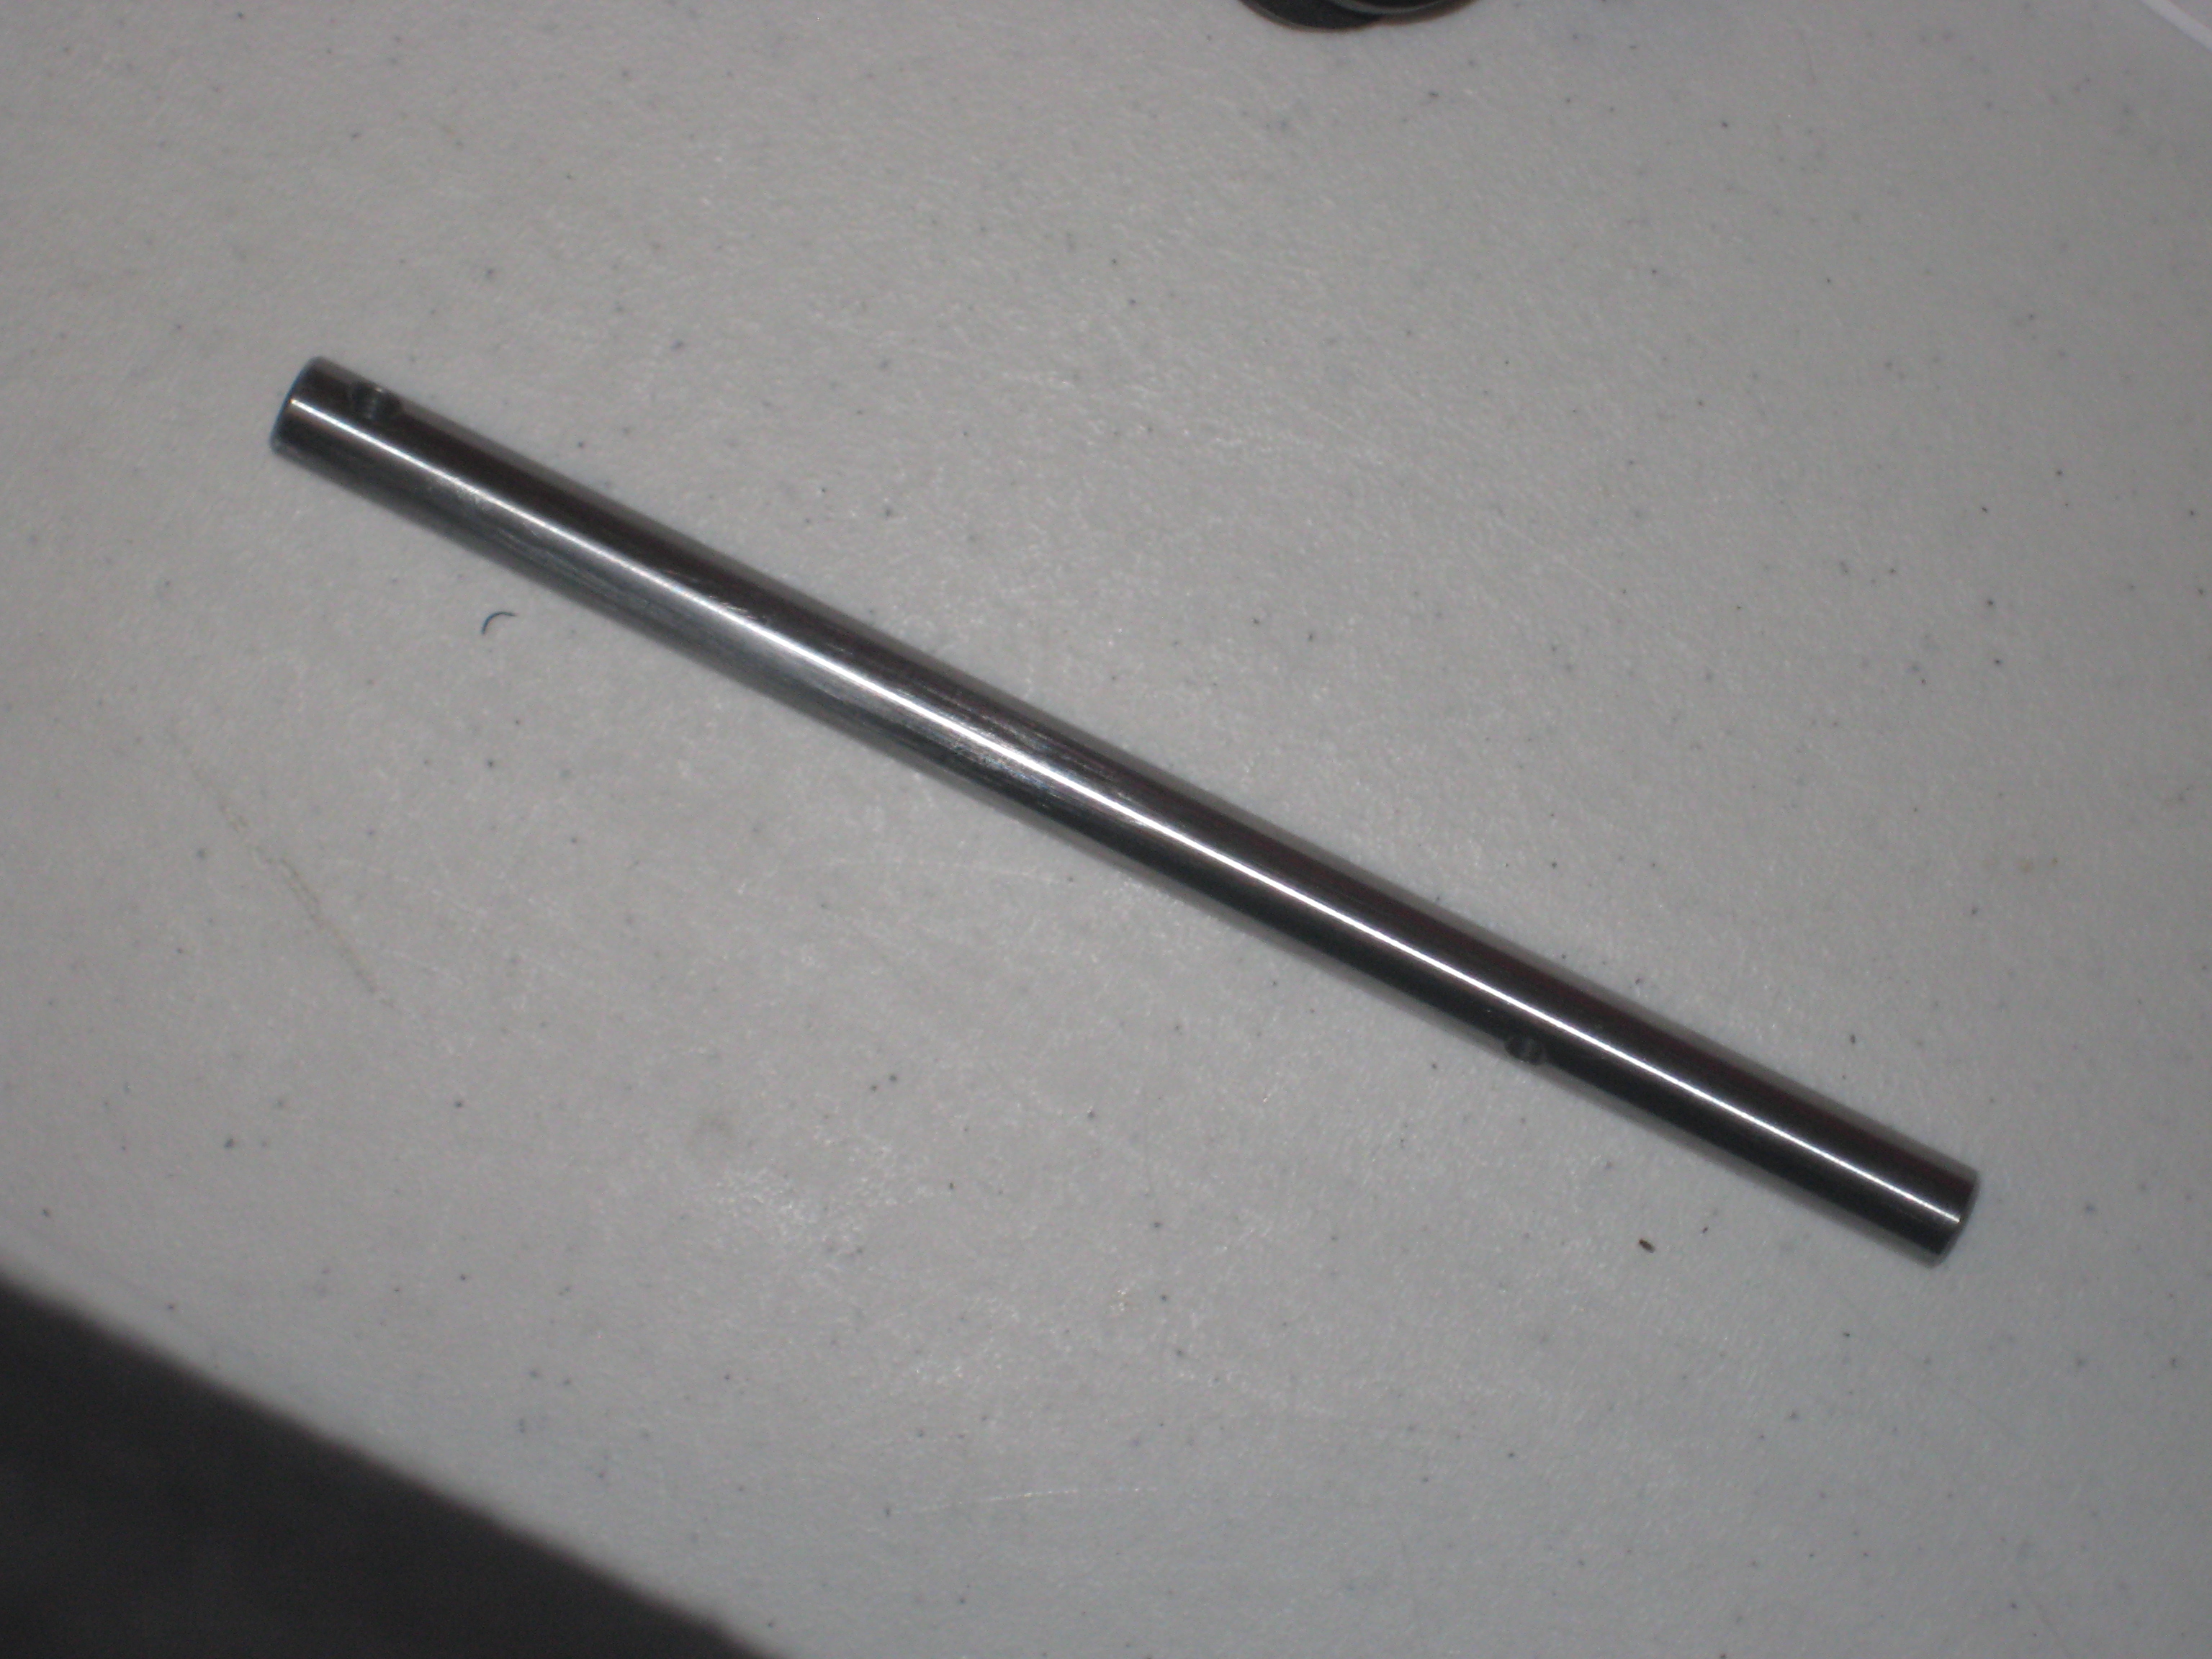
This is also when my day had to stop. As I began assembly of the main shaft onto the rotor head I noticed that there was a discrepancy between the drawing and the main shaft I had. The manual included is for both, the HD and LT rotor heads. Based on the drawings, I determined that I had the main shaft for the LT rotor head. I’m not sure if that will make a difference or not but I have contacted Century Helicopters about this. I also noticed that I had the wrong set screws for the washout guide. I guess I’ll be waiting for parts before continuing.
Conclusion: It took me about an hour and a half to complete the work so far. The finished job is impressive and I’m still in awe of how big this helicopter is going to be. I’m looking forward to hear back from Century Helicopters regarding the parts and continuing my build by next weekend.
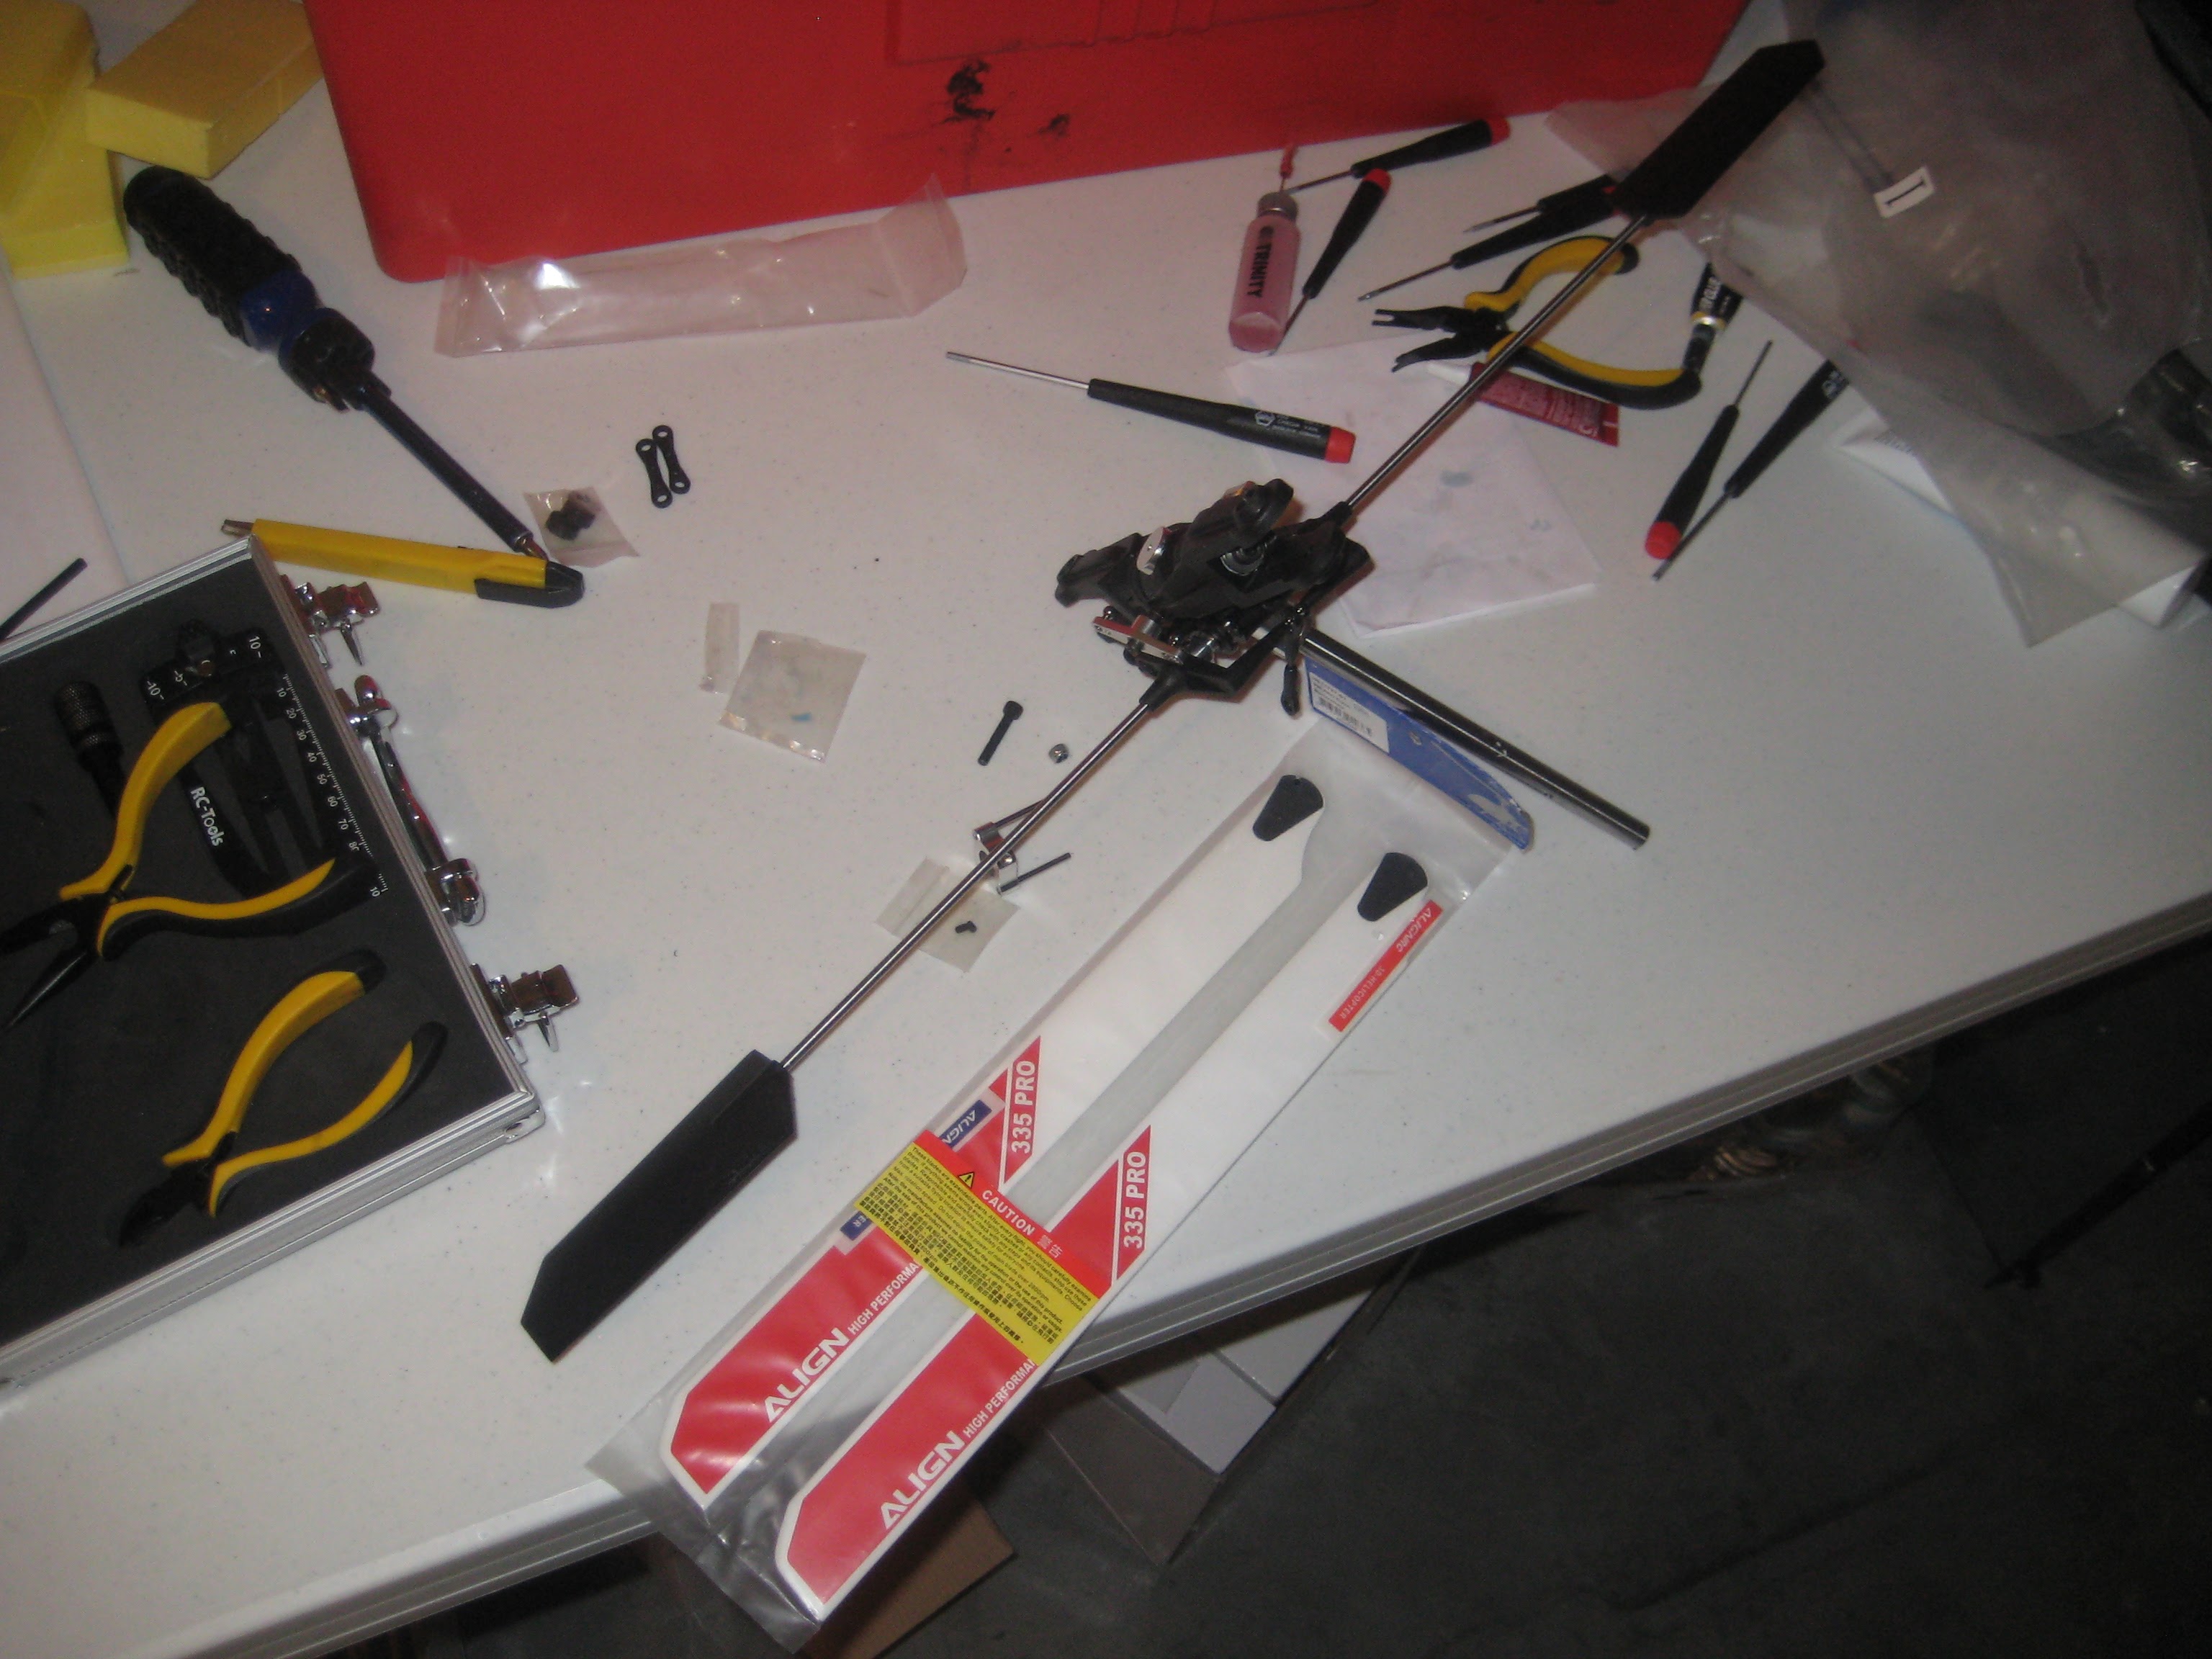
For final comparison purposes (above) I’ve placed some 335mm blades next to the assembled main rotor and below is my 450-sized helicopter next to it.